Ultimate Guide to Rendering in After Effects
Learn essential rendering techniques in After Effects, from settings and output formats to troubleshooting common issues for polished video output.
Rendering in After Effects converts your project into a playable video file. This process ensures your animations, effects, and compositions are ready for sharing or further editing. Here's what you need to know:
- What It Is: Rendering processes your project frame by frame, combining all elements into a final video.
- Why It Matters: It creates a shareable file, reveals hidden issues, and optimizes videos for specific platforms.
- Tools: Use the built-in Render Queue for batch processing or Adobe Media Encoder for flexible formats and background rendering.
- Settings: Adjust resolution, frame rate, and quality for your needs. Use formats like H.264 for web or ProRes for professional editing.
- Tips: Enable GPU acceleration, allocate more RAM, and use render templates to save time.
Whether you're working on motion graphics or 3D effects, mastering rendering ensures polished results. Learn how to optimize settings, troubleshoot issues, and improve performance in this guide.
BEST Export Settings In After Effects 2024 - Complete Guide
Render Settings and Output Options
Render Settings and the Output Module play a crucial role in determining your final video's quality, file size, and how fast it renders.
Main Render Settings in After Effects
The Render Settings panel manages the essential parameters of your export, including resolution, frame rate, quality, and duration. These settings directly influence how your video looks and how large the file will be.
Resolution defines the sharpness and detail of your video. Common choices include 1920x1080 (1080p), ideal for web and social media, and 4K for cinematic or high-end projects. Keep in mind, rendering at a resolution higher than your source footage or delivery needs won't improve quality - it'll just increase file size and render time unnecessarily.
Frame rate impacts the smoothness of your video playback. For example, most web content uses 30 fps, while films often stick to 24 fps. Matching your render's frame rate to the target platform ensures efficient processing without extra overhead.
Quality settings range from "Draft" for quick previews to "Best Settings" for final exports. For most finished projects, "Best Settings" is the way to go, as it ensures top-notch quality. On the other hand, "Draft" mode is useful for internal reviews or client previews when speed is more important than perfection.
Duration controls allow you to render specific parts of your composition. This is especially handy if you're working on a long project and only need to export a small segment.
Once you've configured your Render Settings, it's time to dive into the Output Module, which determines file format, codec, and audio options.
Output Modules and File Formats
The Output Module handles critical decisions about file format, codec, color depth, and audio settings. Your choice here depends on where and how the video will be used.
- H.264 (MP4) is the go-to option for web and social media. It offers a great balance between small file sizes and good quality, making uploads and streaming quick and seamless.
- Apple ProRes and DNxHD are tailored for professional editing workflows. These formats prioritize quality over file size, making them perfect for projects that require further editing or color grading.
- PNG sequences and QuickTime Animation are ideal for motion graphics or overlays that need transparency (alpha channels). While these formats preserve every pixel of detail, they result in much larger files.
- Uncompressed AVI is rarely used but works for archival purposes, offering lossless quality at the cost of enormous file sizes.
The Output Module also lets you adjust color depth and channels. For standard video, RGB is sufficient, but if you need transparency, opt for RGB + Alpha. Higher color depths (like 16-bit) retain more color information but significantly increase file sizes.
| Format | Best Use Case | File Size | Quality | Render Speed |
|---|---|---|---|---|
| H.264 (MP4) | Web, social media | Small | Good | Fast |
| ProRes/DNxHD | Professional editing, broadcast | Large | Excellent | Moderate |
| PNG Sequence | Transparency, VFX | Very Large | Lossless | Slow |
| Uncompressed AVI | Archival (rare use) | Extremely Large | Lossless | Very Slow |
With your render settings and output formats in place, render templates can make your workflow even more efficient.
Creating and Using Render Templates
Render templates allow you to save and reuse custom render and output settings, cutting down on repetitive setup time. Instead of manually configuring the same settings for similar projects, templates let you apply your preferred configurations instantly.
For example, you might create a social media template that uses H.264 at 1080p with moderate compression or an archival template that uses ProRes at 4K with maximum quality settings. Templates ensure consistency across projects and minimize errors.
To create render templates, go to Edit > Templates > Render Settings or click the triangle next to the Render Settings heading in the Render Queue. From there, you can create new templates, edit existing ones, and set defaults for specific output types. You can even save or share template files with team members.
Templates are particularly useful in professional environments where multiple editors work on similar content. For instance, a broadcast facility might maintain templates for different delivery specs, while a social media agency could have platform-specific templates ready to go.
It's worth noting that changes to templates won't affect items already queued for rendering. Be sure to update your templates before adding new jobs to the Render Queue to apply the latest settings.
When you combine well-defined render settings, the right output modules, and organized templates, you create a streamlined workflow that delivers consistent, high-quality results for all your After Effects projects.
How to Render and Export Step-by-Step
Now that you've set up your render settings and output modules, let's go through the rendering process itself. Whether you're exporting a single composition or juggling multiple deliverables, these steps will help ensure a smooth, professional workflow.
Preparing Your Composition for Rendering
Before adding your composition to the Render Queue, take a moment to double-check its readiness:
- Set your work area: Adjust the In and Out points to define the section you want to render. Use the shortcuts B to set the In point and N for the Out point at your playhead position.
- Preview your composition: Scan for any issues like missing assets, broken effects, or unexpected behavior in your layers.
- Confirm composition settings: Ensure the frame rate, resolution, and duration align with your intended output.
- Clean up unused assets: Removing unnecessary items can improve performance.
- Verify essential layers: Make sure all critical layers are visible and functioning as expected.
Once everything looks good, you’re ready to move your composition into the Render Queue.
Using the Render Queue
To add your composition to the Render Queue, select it in the Project panel and either go to Composition > Add to Render Queue or drag it directly into the Render Queue panel.
From there:
- Click on "Best Settings" to configure your render options. For the highest quality, stick with "Best Settings." If you're exporting for web use, H.264 (MP4) is a great choice. For professional workflows, ProRes is a solid option.
- Adjust your output module settings by clicking on "Lossless" to tailor your export format.
- Choose your output location in the "Output To" field. It’s helpful to organize renders into a dedicated folder, especially when managing multiple exports.
The Render Queue also supports batch processing, allowing you to queue several compositions and render them sequentially. Once everything is set, hit Render to start the process. You can monitor progress through the status bar, which shows the estimated time remaining for each item.
If you need more format options or want to keep working during rendering, consider using Adobe Media Encoder.
Rendering with Adobe Media Encoder
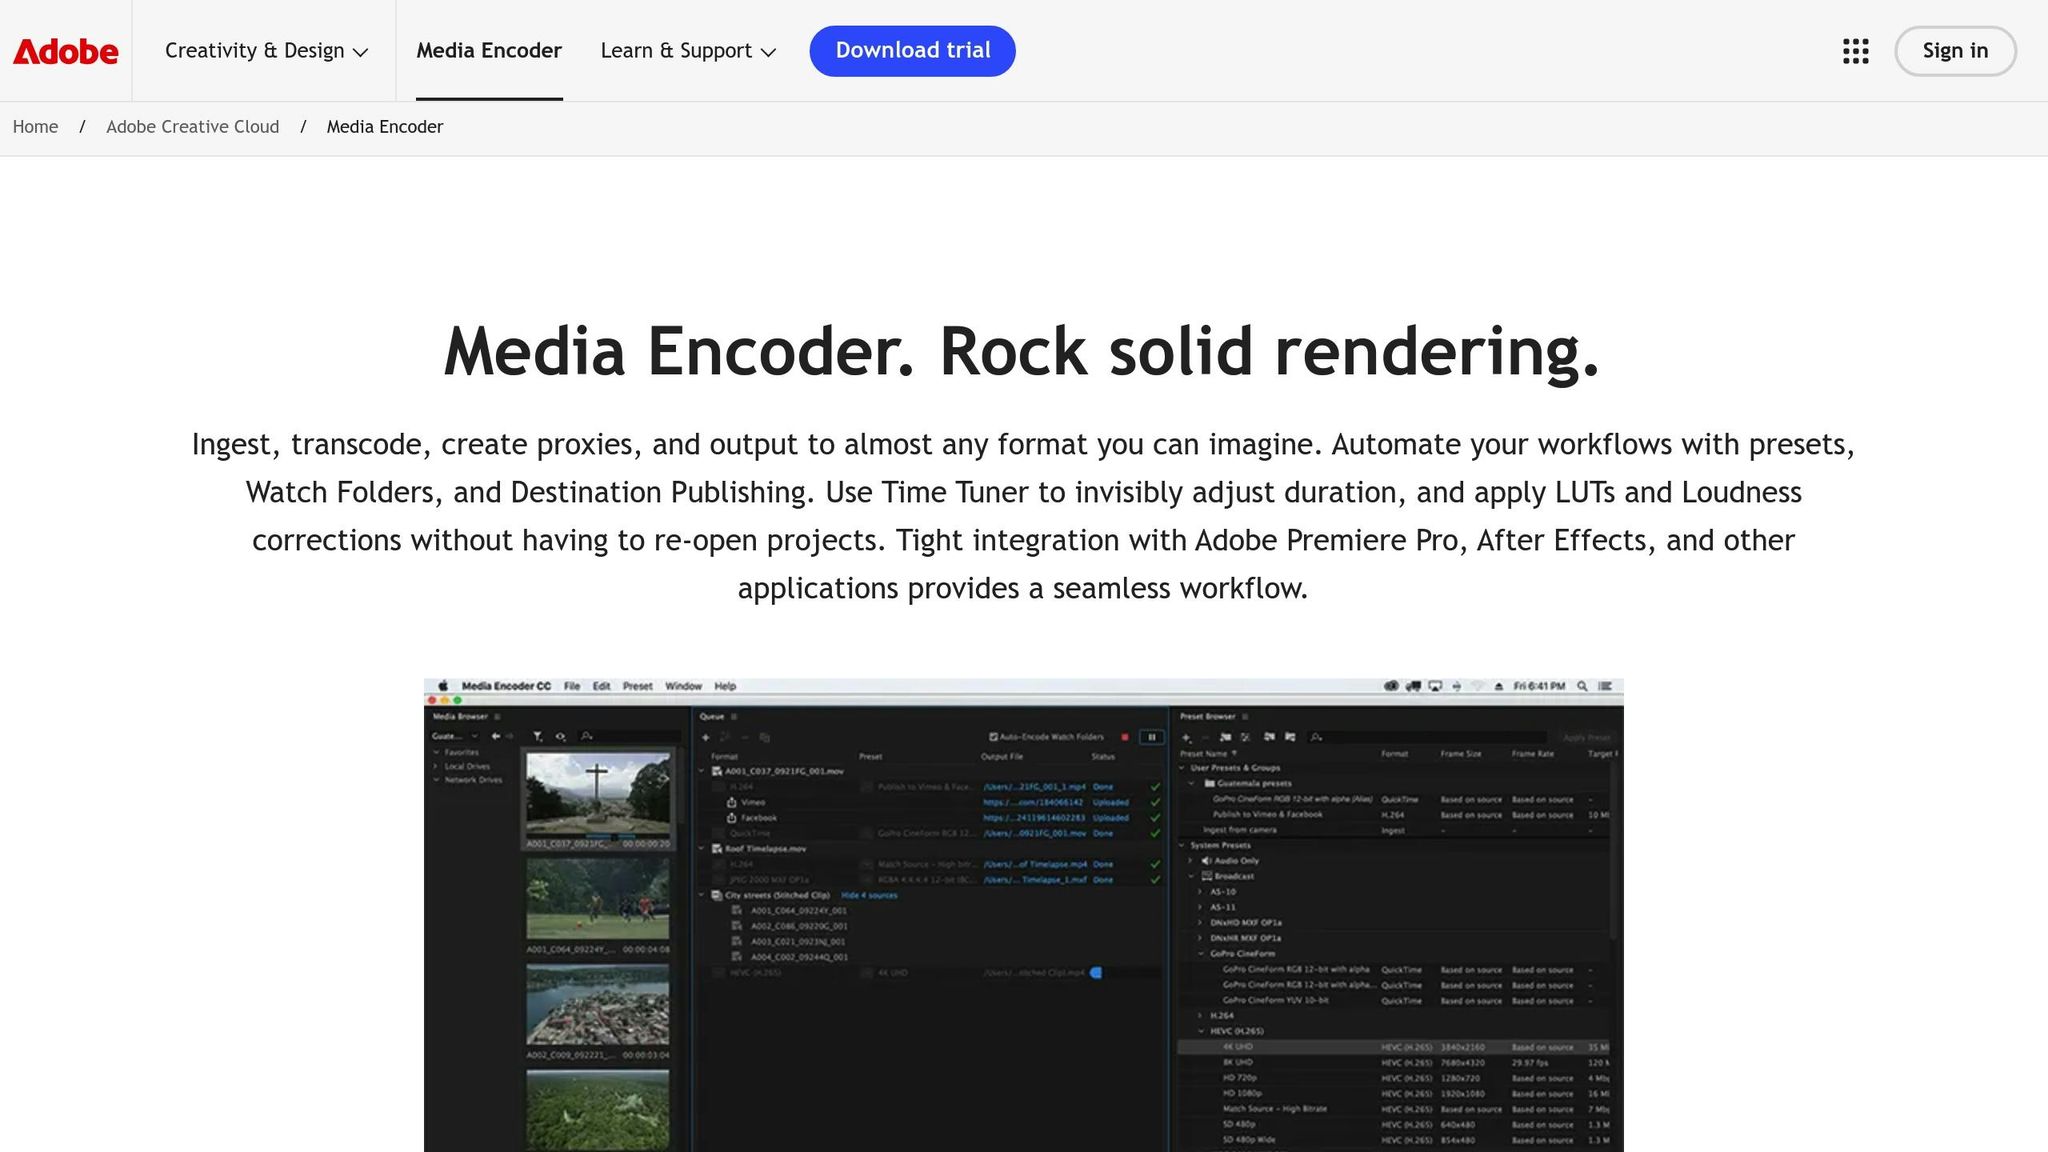
Adobe Media Encoder (AME) is a fantastic tool for projects that require multiple formats or when you need to continue working while rendering.
To send your composition to AME, go to File > Export > Add to Adobe Media Encoder Queue. This will launch AME automatically and display your composition with default settings.
With AME, you can:
- Render in the background while continuing to work on other projects.
- Export to multiple formats simultaneously, such as H.264 for web and ProRes for broadcast, all from the same source composition.
- Take advantage of a robust library of presets tailored for platforms like YouTube, Vimeo, or broadcast.
AME also shines in error handling. If a render fails, you can often restart from a checkpoint instead of starting over entirely, saving you time and frustration.
Professional Rendering Techniques
Once you've nailed the basics, diving into advanced rendering techniques can elevate your workflow. These methods not only improve the quality of your renders but also optimize performance, especially for larger, more intricate projects.
Faster Render Times and Better Performance
One of the most effective ways to speed up rendering is multi-frame rendering, which utilizes all available CPU cores to process multiple frames at once. This can drastically cut down render times for complex compositions.
Upgrading your hardware can make a huge difference too. For instance, using SSDs for both disk cache and output storage can reduce export times by up to 30% compared to traditional hard drives. This is especially noticeable when working on large files or high-resolution projects. The faster read/write speeds of SSDs allow After Effects to access and save cached frames more efficiently during rendering.
Another game-changer is enabling GPU acceleration. A powerful graphics card can handle hardware-accelerated rendering for effects and 3D compositions, significantly reducing render times. Make sure to enable this option in your project settings to take full advantage of your GPU's capabilities.
To further improve performance, allocate as much RAM as possible to After Effects and close any unnecessary applications. This allows the software to process more frames at once, leading to smoother rendering. Additionally, enabling disk cache and setting a high value for it can speed up repeated renders of the same project.
For heavy projects, consider using proxies - lower-resolution versions of your assets. These reduce the strain on your system during previews and rendering without compromising the final output.
Breaking down large compositions into smaller sections is another effective strategy. Instead of rendering a single 10-minute sequence, split it into shorter segments. This not only shortens individual render times but also creates checkpoints, making it easier to troubleshoot if something goes wrong.
These optimizations lay the groundwork for tackling the more demanding requirements of 3D rendering.
Working with 3D Rendering and Effects
Building on optimized performance, 3D rendering in After Effects 2025 introduces tools that bring a new level of realism to your work. The software now supports direct 3D model integration, allowing you to import and manipulate 3D assets directly within your compositions.
Using HDRI lighting can add a realistic touch to your 3D scenes. By simulating real-world lighting conditions, HDRI enhances reflections and shadows, eliminating the need for multiple manual light setups.
Another standout feature is the real-time rendering capability in After Effects 2025. This allows you to preview complex effects and animations instantly, streamlining the creative process and reducing the need for repeated full renders during edits.
However, working with 3D elements demands more from your hardware. Ensure your system has enough GPU memory and processing power to handle the extra load. Investing in high-performance hardware pays off through faster render times and smoother handling of intricate scenes.
For particularly complex 3D segments, pre-rendering them and importing them as video files can save time. This minimizes the need to repeatedly process heavy effects during the final output.
2D vs 3D Rendering Workflows
Choosing between 2D and 3D workflows depends on the nature of your project and your system's capabilities. Each approach has its strengths and challenges.
2D workflows revolve around flat layers and simpler effects. These projects, which often include motion graphics, titles, and basic compositing, require moderate hardware and deliver shorter render times. They're ideal for users who need quick results without the complexity of 3D setups.
On the other hand, 3D workflows involve depth, intricate lighting, camera movements, and 3D models. These projects demand more planning and significantly higher hardware capabilities, but the results include advanced visual effects, realistic lighting, and animations that are impossible in a 2D space.
| Aspect | 2D Rendering Workflow | 3D Rendering Workflow |
|---|---|---|
| Layer Type | Flat, 2D layers | 3D layers, models, environments |
| Effects Complexity | Basic, motion graphics | Advanced, lighting, shadows |
| Hardware Needs | Moderate | High (GPU, RAM, SSD) |
| Render Time | Shorter | Longer |
| Planning | Simple | Complex (scene setup, assets) |
| Use Cases | Titles, overlays, animation | Visual effects, 3D scenes |
For 2D web projects, H.264 is an excellent codec choice, as it significantly reduces file sizes while maintaining good quality. In contrast, 3D projects often require higher-quality codecs like ProRes or DNxHD to preserve the detail and color depth necessary for more intricate visuals.
The key is to align your workflow with your project’s goals. For straightforward motion graphics, a 2D approach is usually sufficient. But for ambitious visual effects, a 3D workflow unlocks possibilities that go far beyond what 2D can achieve. Consider your creative vision, timeline, and resources when deciding which path to take.
Fixing Common Rendering Problems
Troubleshooting rendering issues is essential for maintaining a smooth workflow.
Fixing Failed Renders
If your render fails, start by checking the error message in the Render Queue. After Effects usually provides specific information to help you identify the problem.
One common issue is insufficient system memory. To resolve this, adjust the RAM allocation in After Effects preferences. Allocate 90% of your system's RAM to After Effects and leave the remaining 10% for other applications. For instance, if you have 32 GB of RAM, reserve just 3.2 GB for non-After Effects tasks.
Another frequent issue involves missing or corrupted source files. The error message will often point to the problematic file. Double-check that all assets are properly linked and haven’t been moved or deleted. If a file is corrupted, replace it with a backup or re-import the original.
Incompatible codecs or output settings can also lead to failed renders. To avoid this, use widely supported formats like H.264 (MP4) for web delivery or ProRes for professional workflows. These formats are reliable across most systems.
Freeing up system resources can also help. Enable disk cache, close unnecessary applications, and try rendering in smaller chunks if your composition is particularly complex.
Plugin errors are another potential stumbling block. If you suspect a third-party plugin is causing problems, disable it and try rendering with native effects. Make sure all plugins are updated to their latest versions to avoid compatibility issues.
Now, let’s look at how to manage file sizes effectively without losing quality.
Reducing Large File Sizes
Large files can be a hassle for storage and sharing, but there are ways to shrink them without a noticeable drop in quality.
- Choose efficient codecs. H.264 is a great option for creating smaller files while maintaining high quality, especially for web and social media use.
- Match the resolution to your needs. For example, if your final video will be viewed in 1080p, output it at that resolution instead of 4K. This simple adjustment can significantly reduce file size.
- Adjust the bitrate. When using H.264, a bitrate of 8–10 Mbps is usually sufficient for HD web content. Higher bitrates don’t always mean better quality, especially if further compression is applied during online delivery.
- Trim unnecessary elements. If your project doesn’t require audio, disable it in the output settings. Similarly, avoid rendering alpha channels unless transparency is needed. These small tweaks can make a big difference.
- Use Adobe Media Encoder. This tool gives you detailed control over compression settings, allowing you to strike the perfect balance between quality and file size. Plus, you can preview how different settings will affect your output before committing to a full render.
Best Practices for Better Rendering
To avoid common rendering problems, consider these best practices:
- Keep your software and plugins updated. Adobe frequently releases updates to fix bugs and improve compatibility with new hardware and operating systems.
- Organize your projects. Store all assets in a single, well-structured folder with clear naming conventions. Subfolders for footage, audio, and graphics can help prevent missing file errors.
- Save incremental versions. Use filenames like "Project_v01", "Project_v02", and so on. This way, if something goes wrong, you can quickly revert to an earlier version without losing much progress.
- Pre-render complex compositions. If you’re reusing a complex composition multiple times, pre-render it to reduce the processing load during the final render. This is especially helpful for projects with heavy 3D elements or multiple effects.
- Enable multi-frame rendering and GPU acceleration. These features make better use of your hardware, helping to prevent timeouts or memory-related failures during long renders.
- Test render settings. Export a short segment - 10 to 15 seconds - to verify your settings before rendering the entire project. This quick test can save you hours of troubleshooting later.
| Common Problem | Quick Solution | Prevention Tip |
|---|---|---|
| Out of memory errors | Allocate more RAM; close unused apps | Enable disk cache and render in segments |
| Missing files | Relink assets and verify file paths | Keep all assets in a dedicated project folder |
| Codec compatibility | Switch to H.264 or ProRes | Use standard formats for delivery |
| Large file sizes | Lower resolution and adjust bitrate | Match output settings to the intended use |
| Plugin crashes | Update or disable problematic plugins | Keep plugins up to date |
Conclusion and Next Steps
Key Points from This Guide
Becoming proficient in After Effects rendering comes down to fine-tuning technical settings and streamlining your workflow.
- Optimizing system settings can significantly improve efficiency, cutting render times by up to 40% without sacrificing quality.
- Choosing the right output format is essential. For web delivery, H.264 is a solid choice, while ProRes and DNxHD are better suited for professional workflows.
- The Render Queue and Adobe Media Encoder each have unique strengths. The Render Queue is ideal for batch processing multiple compositions with custom settings, while Media Encoder allows for background rendering, keeping your creative process uninterrupted. Knowing when to use each tool can make a major difference in your workflow.
- Creating and managing custom templates can save time and ensure consistency across projects. Instead of configuring settings manually for every render, templates let you apply pre-tested configurations instantly, reducing errors and speeding up repetitive tasks.
- Troubleshooting common rendering issues is a critical skill. Problems like memory allocation errors, missing assets, or codec compatibility challenges often have straightforward solutions if you know where to look.
To deepen your expertise, consider structured professional training to refine these skills further.
Learning More with Upskillist

Now that you’ve got a roadmap for mastering After Effects rendering, you can take your skills to the next level with hands-on, guided training. Upskillist offers expert-led courses designed to help you apply these insights to real projects.
Their comprehensive After Effects courses are created by professionals who understand the challenges of motion graphics and video production. These classes focus on practical, goal-oriented learning, combining interactive lessons, continuous assessments, and real-world assignments to solidify your skills.
What makes Upskillist stand out is its emphasis on real-world application. You’ll learn how rendering integrates into complete production workflows, from initial concept to final delivery. The courses cover advanced techniques like optimization strategies, multi-machine rendering setups, and professional practices that go beyond basic tutorials.
Plus, you can earn certified Diplomas to enhance your resume. In a competitive creative field, these credentials can help you land new opportunities or advance in your career.
Start with a free 7-day trial, then continue learning for $39.99 per month. Whether you’re refining your skills, transitioning into motion graphics professionally, or looking to improve your personal projects, expert-designed courses can take your After Effects abilities to the next level.
FAQs
Why should I use Adobe Media Encoder instead of After Effects' Render Queue?
When it comes to rendering, Adobe Media Encoder has some clear perks compared to After Effects' built-in Render Queue. For starters, it’s designed to make rendering quicker by making better use of your system's resources. On top of that, it supports a broader selection of export formats, giving you more flexibility when delivering your projects. Another big plus? Its queue management lets you continue working on other After Effects projects while your renders process in the background. These features combine to simplify your workflow and help you deliver polished results with less hassle.
What are the best ways to speed up rendering times in After Effects?
To make rendering faster in After Effects, start by improving your hardware setup. A GPU with at least 4GB of VRAM and 16GB or more of RAM are key. Don't forget to enable GPU acceleration within After Effects for better performance.
On the software side, tweak a few settings. Lower the composition resolution when previewing, turn on multi-frame rendering, and allocate more RAM to After Effects through the preferences menu. Also, keep both your graphics drivers and After Effects updated to the latest versions. These steps can help cut down rendering times without sacrificing quality.
What should I do if my render fails because of low memory or missing files?
If your render isn't completing because of low system memory or missing files, here are some practical steps you can take to troubleshoot:
- Allocate more RAM in After Effects by tweaking the settings in your preferences. This can give the software more room to process your project.
- Shut down unused programs running in the background to free up additional system resources.
- Simplify your composition by cutting down on layers or reducing the resolution. This can make rendering less demanding on your system.
- Double-check that all the files in your project are properly linked. If any are missing, reconnect them to avoid errors.
- Clear the cache by navigating to Edit > Purge > All Memory & Disk Cache. This can help clear up any lingering issues.
- Save your work, restart After Effects, and try rendering again. A fresh start often clears up minor hiccups.
By following these steps, you can tackle common rendering problems and get back to finishing your project.