Top 10 3D Printing Software for Beginners 2026
Explore the top 10 beginner-friendly 3D printing software options for 2026, designed to simplify modeling and printing processes.
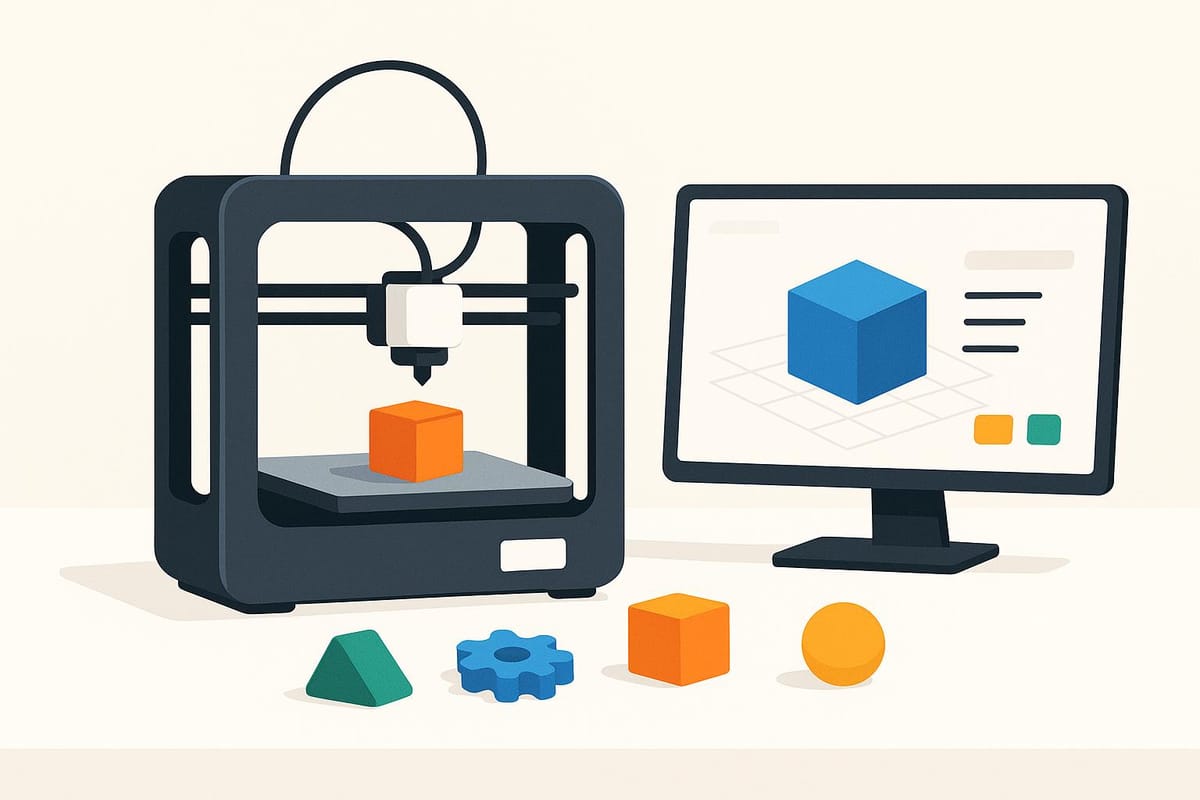
Starting with 3D printing? The right software can make all the difference. Whether you're designing simple models or preparing files for printing, these tools cater to beginners with easy-to-use features, tutorials, and compatibility with popular printers. Here's a quick look at the best options for 2025:
- Tinkercad: Browser-based with drag-and-drop tools for simple designs.
- Ultimaker Cura: Free slicing software to prepare models for printing.
- PrusaSlicer: Beginner-friendly slicer with printer-specific settings.
- SketchUp Free: Web-based CAD tool for basic modeling.
- Blender: Advanced modeling and sculpting, ideal for detailed projects.
- FreeCAD: Open-source CAD software for precision designs.
- Meshmixer: Best for repairing and editing 3D models.
- SculptGL: Browser-based sculpting tool for organic shapes.
- OpenSCAD: Code-based modeling for precise designs.
- BlocksCAD: Visual block-based design, great for learning.
Each tool serves a specific purpose, from creating models to slicing them for printing. Beginners should start with intuitive programs like Tinkercad or SketchUp, then explore advanced options as their skills improve.
Top 7 Best 3D Print Modeling Software for Beginners
What to Look for in Beginner 3D Printing Software
Picking the right 3D printing software can make learning much smoother and more enjoyable.
User Interface Design should be at the top of your list. Beginner-friendly software typically features simple, clean layouts with intuitive navigation. Look for drag-and-drop functionality, visual icons that replace text-heavy menus, and tools arranged in a logical way. These features can make the learning process much less intimidating.
Learning Resources and Documentation are game-changers for beginners. Opt for software that offers built-in tutorials, video guides, or interactive walkthroughs. These resources not only teach you the basics but also guide you through creating actual models, helping you learn by doing.
File Format Compatibility is essential, even if you’re just starting out. Your software should support widely used 3D file formats like STL, OBJ, and PLY. This flexibility is especially helpful when working with pre-made designs, as many beginners start by modifying existing models before creating their own. Having the ability to import and export these formats ensures your designs are ready for your 3D printer.
System Requirements and Performance are worth considering to avoid technical hiccups. Check if the software runs smoothly on your computer. Some programs require high-performance hardware, like advanced graphics cards or lots of RAM, while others are lightweight enough for basic laptops. Make sure your computer can handle the software to keep your workflow smooth from start to finish.
Printer Compatibility and Slicing Features play a big role in how seamlessly your software integrates with your 3D printer. Some programs come with built-in slicing tools that prepare your designs for printing, while others require separate slicing software. For beginners, having slicing features built-in can simplify the process and save time.
Cost Structure and Licensing can vary widely. Many beginner-friendly programs are completely free, while others offer free versions with limited features and charge for advanced tools. Decide what fits your budget and whether you prefer a one-time purchase or a subscription plan. For most beginners, free software often provides all the tools you need to get started.
Community Support and Resources can make learning faster and more enjoyable. Look for software with active forums or user groups where you can find tutorials, troubleshooting tips, and inspiration. A strong community can be a great source of motivation and guidance as you learn.
Template Libraries and Pre-made Assets are incredibly helpful for beginners. Software that includes ready-to-use shapes, objects, and templates allows you to start designing right away. This lets you focus on understanding design principles without getting bogged down by technical details.
Export and Sharing Options become more important as you advance. Choose software that makes it easy to share your designs online, export high-quality images, or save files in formats compatible with other tools. These features ensure your creations are versatile and ready for future projects.
Start with software that’s easy to learn but has the potential to grow with you as your skills improve.
1. Tinkercad
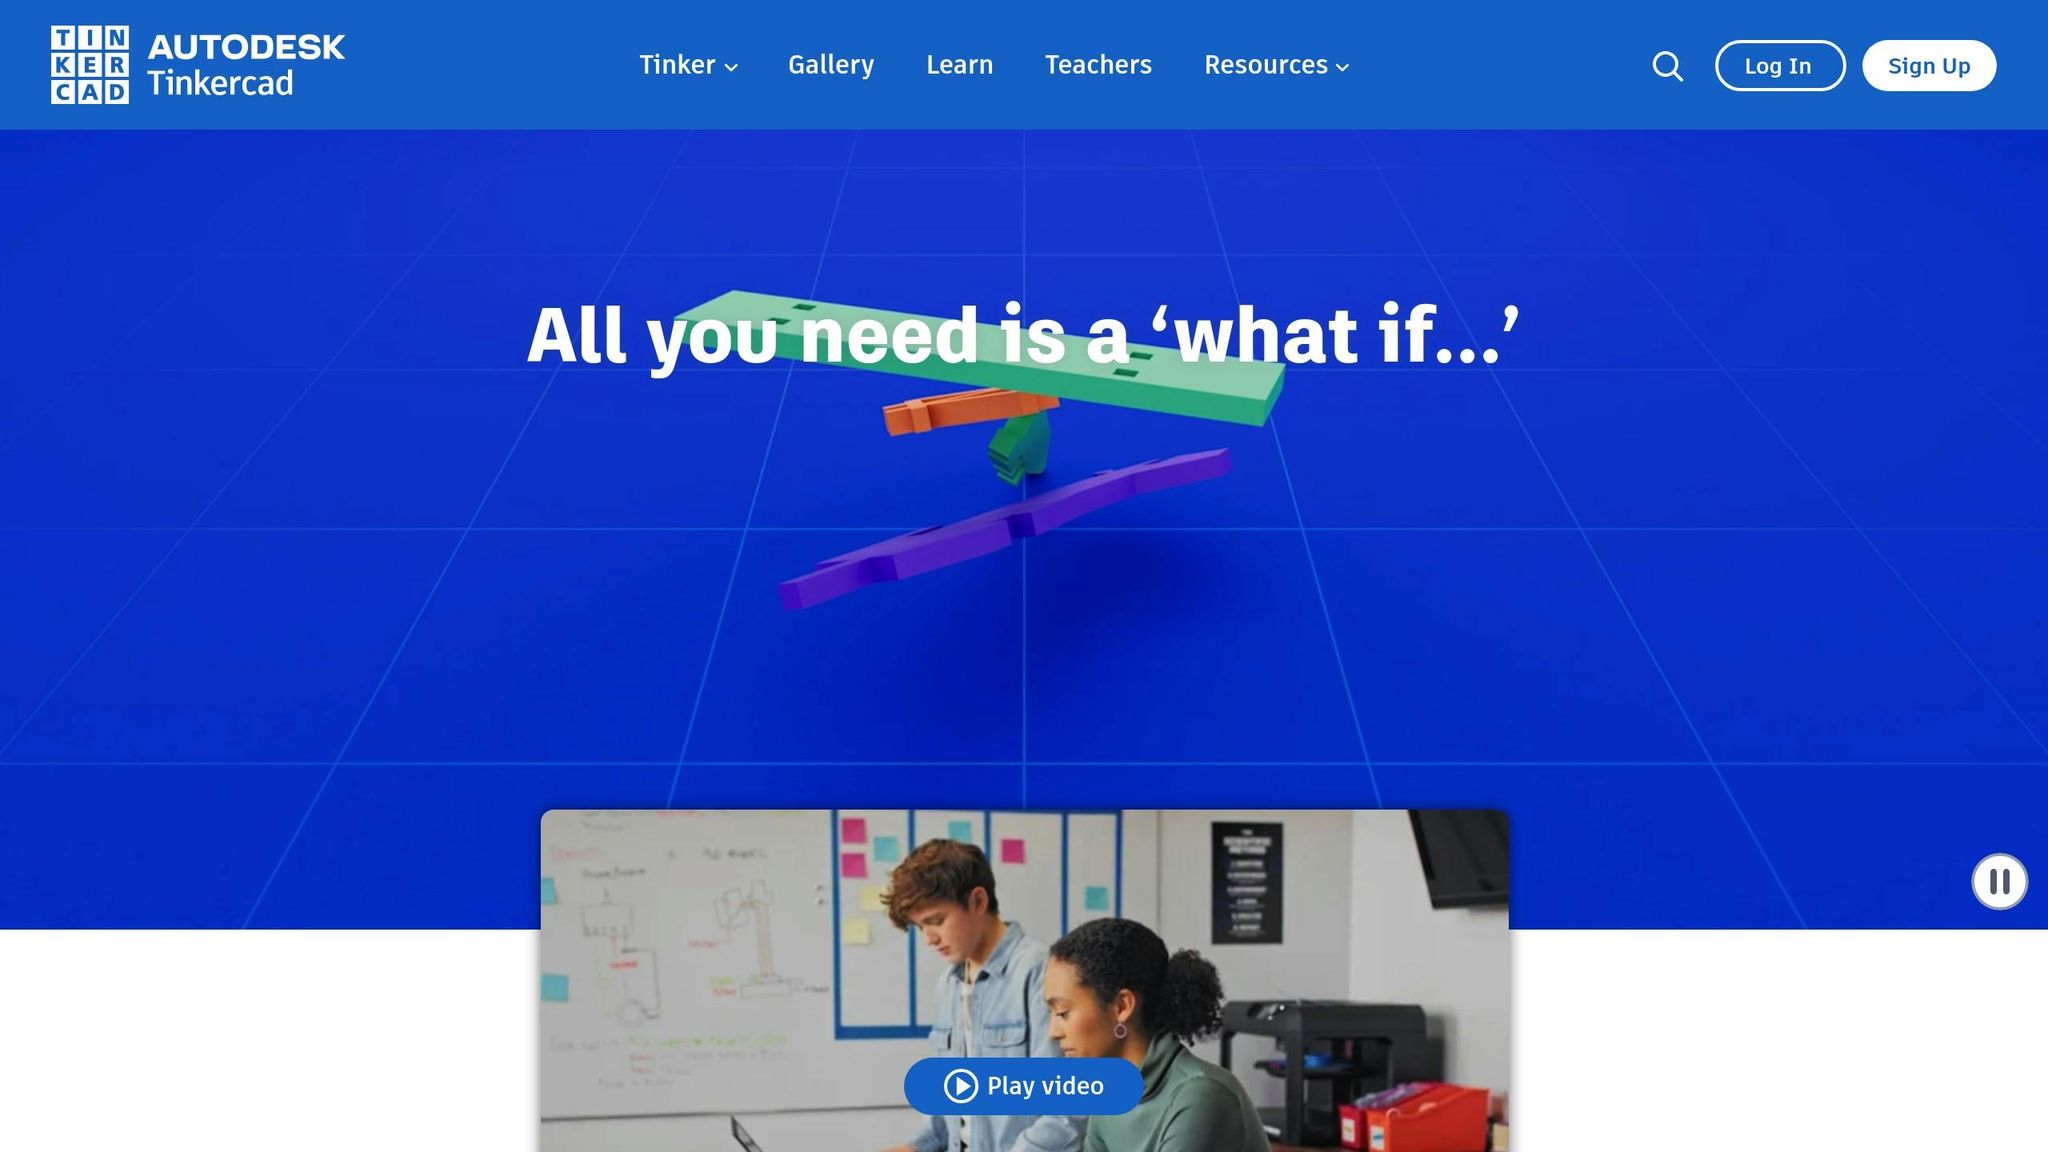
Tinkercad is perfect for beginners diving into 3D design. Its browser-based platform makes the process approachable and enjoyable, eliminating the need for downloads or worrying about system compatibility. Just open your web browser, and you're ready to bring your ideas to life.
The software uses a drag-and-drop interface, allowing you to combine simple shapes like cubes, spheres, and cylinders with ease. For instance, if you're designing a custom phone case, you can start with a rectangle, carve out the interior with another shape, and add decorative details. The experience feels more like hands-on sculpting than technical modeling.
Beginner-Friendliness
Tinkercad removes the intimidation factor from 3D design. Its interface features clear icons and straightforward tools. Want to merge two shapes? Just drag and drop. Need to create a hole? Select the "hole" tool, and the software instantly shows the effect, making it easy to visualize your design.
The workplane system provides a structured way to build your designs, almost like working on multiple drawing boards. This setup is intuitive and helps you focus on one step at a time, making it possible to create your first design within an hour. Plus, Tinkercad works seamlessly across all your devices, so you can pick up where you left off.
Platform Compatibility
Tinkercad runs smoothly on any modern browser, whether you're on Windows, Mac, Chromebook, or even a tablet. Whether you're working from your home desktop or a laptop on the go, the experience is consistent and reliable.
Its browser-based nature also comes with perks like automatic updates and cloud saving. Your designs are stored in the cloud, so you don’t have to worry about losing progress or running out of storage space. This feature is especially useful in schools, where students often switch between devices. Tinkercad’s accessibility is complemented by its ability to export files in formats that work with most 3D printers.
File Format Support
Tinkercad supports exporting designs in STL format, which is widely compatible with 3D printers and slicer software. This ensures a smooth transition from design to printing without any format issues.
For more complex projects, Tinkercad also offers OBJ file exports, ideal for multi-color printing. These files are packaged as ZIP archives, keeping all components organized and ready for printing or further editing in other software.
Tutorials and Community Resources
Tinkercad includes an interactive tutorial system that walks you through everything from basic shape manipulation to creating functional designs like gears or hinges. These tutorials are hands-on, letting you practice each technique as you go, which is much more engaging than reading static instructions.
The Tinkercad Gallery is another standout feature, showcasing thousands of user-created designs. You can explore, modify, and learn from these projects, drawing inspiration and picking up new techniques. Many designs include step-by-step guides, turning the gallery into a treasure trove of practical learning and creative ideas.
2. Ultimaker Cura
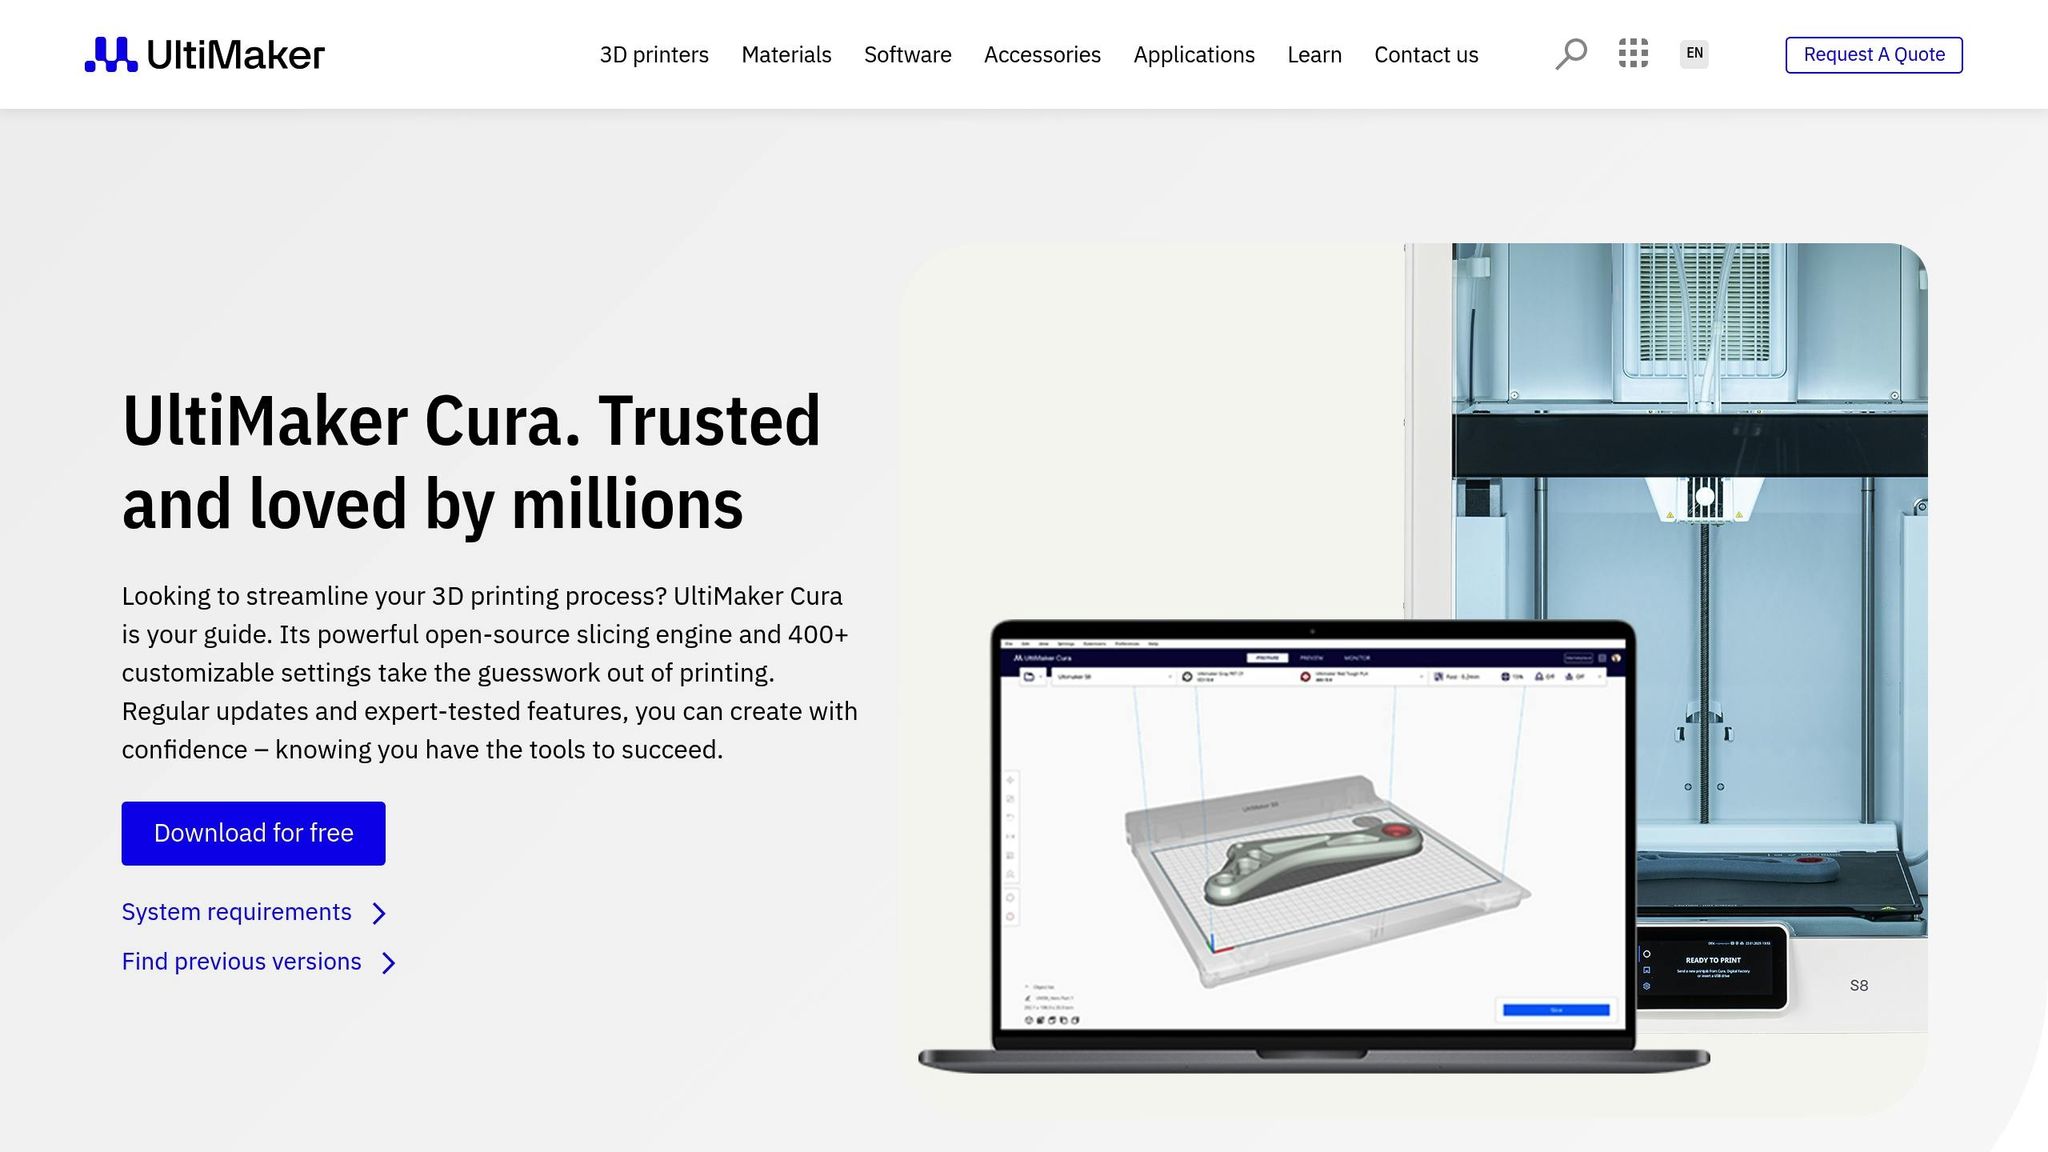
Ultimaker Cura is a powerful tool that converts 3D models into printer-ready instructions, making it an essential part of the 3D printing process.
Compatible with Windows, macOS, and Linux, Cura works with popular file formats like STL, OBJ, 3MF, and G-code. This flexibility ensures you can easily import models from a variety of design tools, streamlining your workflow and enhancing productivity. Whether you're a hobbyist or a professional, Cura offers the reliability and adaptability needed for efficient 3D printing.
3. PrusaSlicer
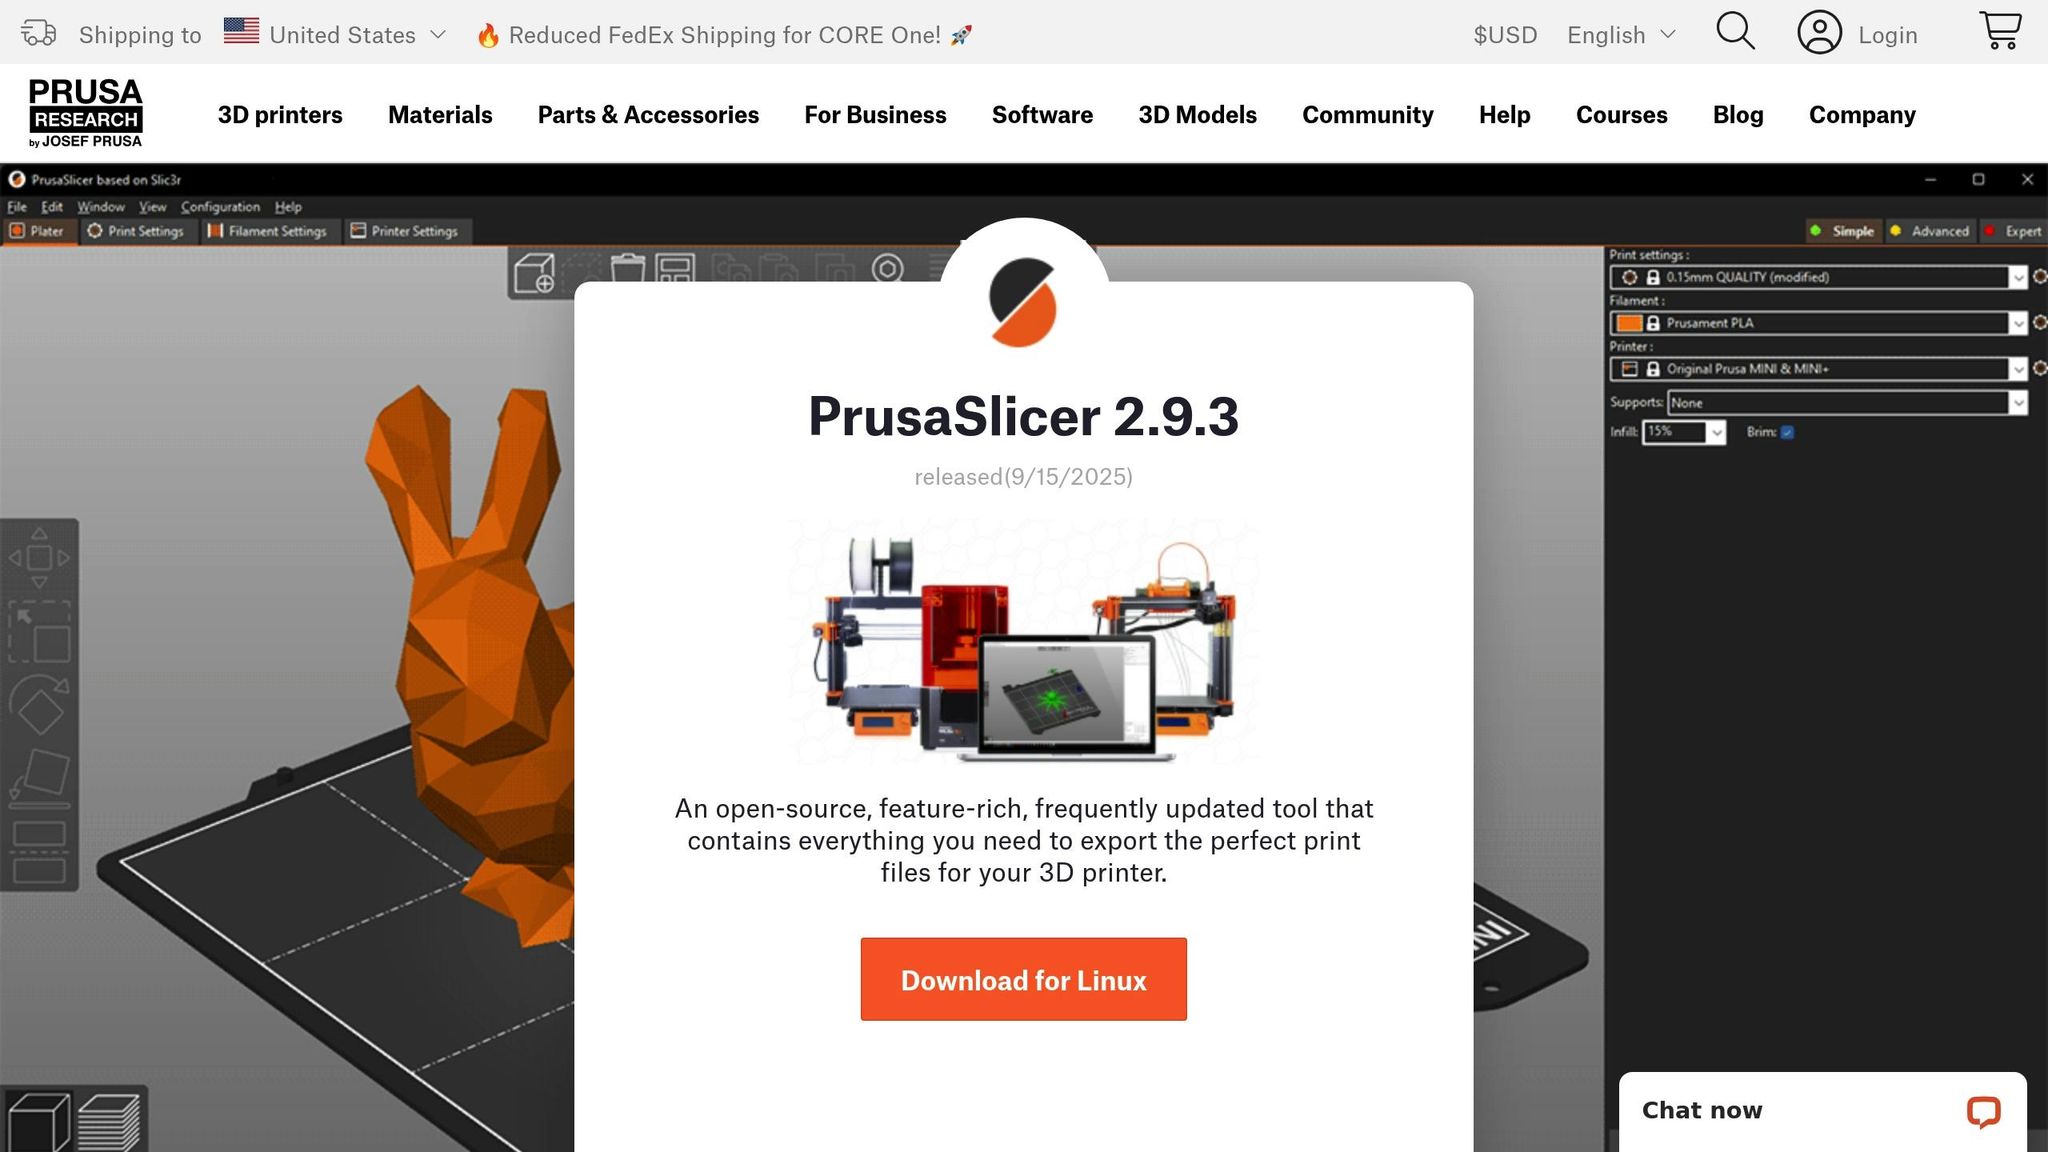
When it comes to slicing software that grows with your expertise, PrusaSlicer stands out. Designed by Prusa Research, this open-source tool is no longer limited to Prusa 3D printers - it now supports a wide range of models. It’s a powerful program that converts your 3D designs into printer-ready instructions, offering plenty of options for customization.
Beginner-Friendliness
PrusaSlicer strikes a great balance between simplicity and advanced features, making it approachable for beginners while still catering to experienced users. Its Configuration Wizard identifies your printer model and suggests the best settings for it. The interface is flexible, offering three modes - Simple, Advanced, and Expert - so you can gradually unlock more features as your confidence grows.
For newcomers, pre-configured profiles for various printers and filament types take the guesswork out of setup. The software also provides detailed visual previews, showing how your print will look layer by layer. This feature is particularly helpful for understanding the printing process and spotting potential issues before hitting "print."
Platform Compatibility
PrusaSlicer works seamlessly across Windows, macOS, and Linux, and it doesn’t demand high-end hardware. Its consistent performance across platforms makes it a reliable choice for hobbyists using everyday computers.
File Format Support
Compatibility is a strong suit for PrusaSlicer. It supports common 3D file formats like STL, OBJ, AMF, and 3MF, and it exports G-code that works with most FDM printers. You can import multiple objects at once and efficiently arrange them on the build plate.
For those who want more control, the software supports modifier meshes and allows for custom G-code insertion at specific layers, giving you precise control over your prints.
Tutorials and Community Resources
PrusaSlicer comes with a wealth of learning materials. Prusa Research provides detailed guides that cover everything from basic setup to more advanced techniques, like multi-material printing and creating custom supports.
The user community is incredibly active, frequently sharing printer profiles, troubleshooting advice, and creative printing techniques in forums. You’ll also find countless YouTube tutorials and online courses dedicated to PrusaSlicer, making it easy to pick up new skills or solve specific problems.
4. SketchUp Free
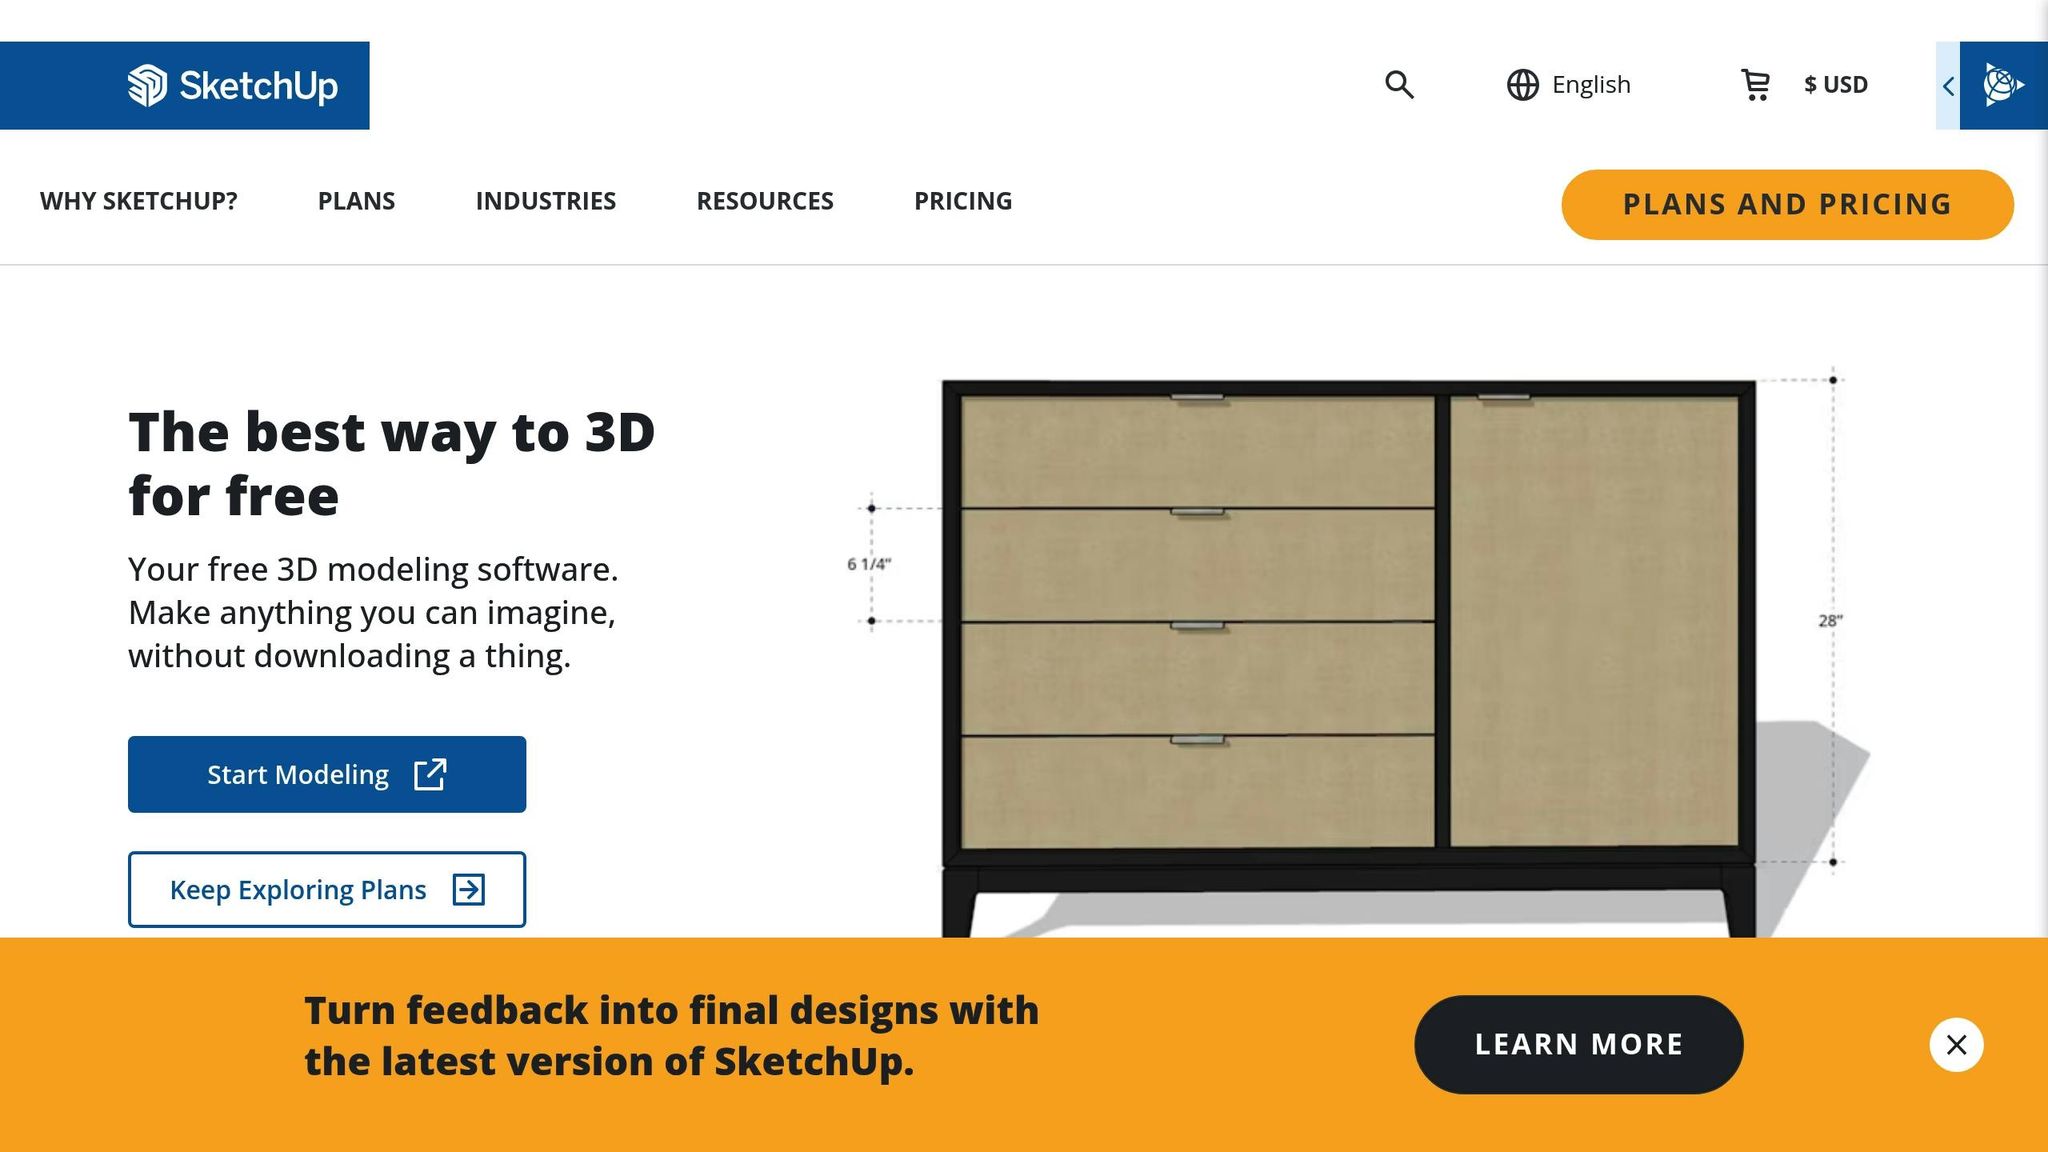
SketchUp Free is a browser-based CAD tool designed for creating 3D models, and the best part? It's completely free. Since it works directly in your web browser, it’s compatible with Windows, macOS, Chrome OS, and even tablets - as long as you have a steady internet connection. This tool carries forward SketchUp's reputation for being beginner-friendly, making it an excellent choice for those new to CAD modeling.
The interface is simple to navigate, especially for those focused on designing models for 3D printing. Its tools make it easier to grasp concepts like 3D geometry and spatial relationships, helping newcomers build confidence quickly. Plus, it supports exporting models in widely used 3D printing file formats, so you’re set to move from design to print without hassle.
Up next, we’ll dive into tools that specialize in slicing your models for flawless printing.
5. Blender
If you're ready to move beyond beginner tools like Tinkercad, Blender opens up a world of advanced 3D modeling possibilities. This free, open-source 3D creation suite is highly regarded for its powerful features, making it especially appealing for 3D printing enthusiasts. While it can seem complex at first, mastering its basics can transform it into a go-to tool - even for beginners.
Beginner-Friendliness
Blender comes with a steep learning curve. Its interface is packed with buttons, menus, and tools, which can feel overwhelming at first glance. However, this complexity is also what makes it so versatile. Once you get a handle on the essentials, Blender allows for the creation of intricate models that simpler CAD tools simply can't replicate.
For beginners, starting small is key. Focus on mastering core tools like extrude, inset, loop cut, and bevel. These alone can help you create surprisingly detailed 3D printable objects. Blender also offers a sculpting mode, which works like digital clay, making it perfect for crafting organic shapes, figurines, or artistic designs.
Platform Compatibility
Blender is available on Windows, macOS, and Linux, ensuring accessibility no matter your operating system. However, for more complex projects, you'll want a computer with a strong GPU, plenty of RAM, and fast storage to handle the workload smoothly.
File Format Support
Blender excels at preparing designs for 3D printing, thanks to its robust export options. It natively supports STL, OBJ, and PLY file formats, which are commonly used for 3D printing. Additionally, it includes a built-in 3D print toolbox to check for issues like non-manifold edges, thin walls, or inverted normals - problems that could ruin your print. For those working with more advanced or varied file types, Blender also supports formats like GLTF and USD, offering flexibility for a wide range of projects.
Tutorials and Community Resources
Blender's community is massive and incredibly active. On YouTube, you'll find countless tutorials covering everything from beginner basics to advanced techniques. The official Blender documentation is also thorough and frequently updated. What's especially helpful for 3D printing beginners are the project-based tutorials. These step-by-step guides walk you through creating specific items, such as game pieces or functional household objects, while addressing 3D printing challenges and tips.
Once you understand Blender's workflow, the transition from design to print becomes much easier. Investing time in learning this tool pays off, as it enables you to create models that would be nearly impossible in simpler software.
6. FreeCAD
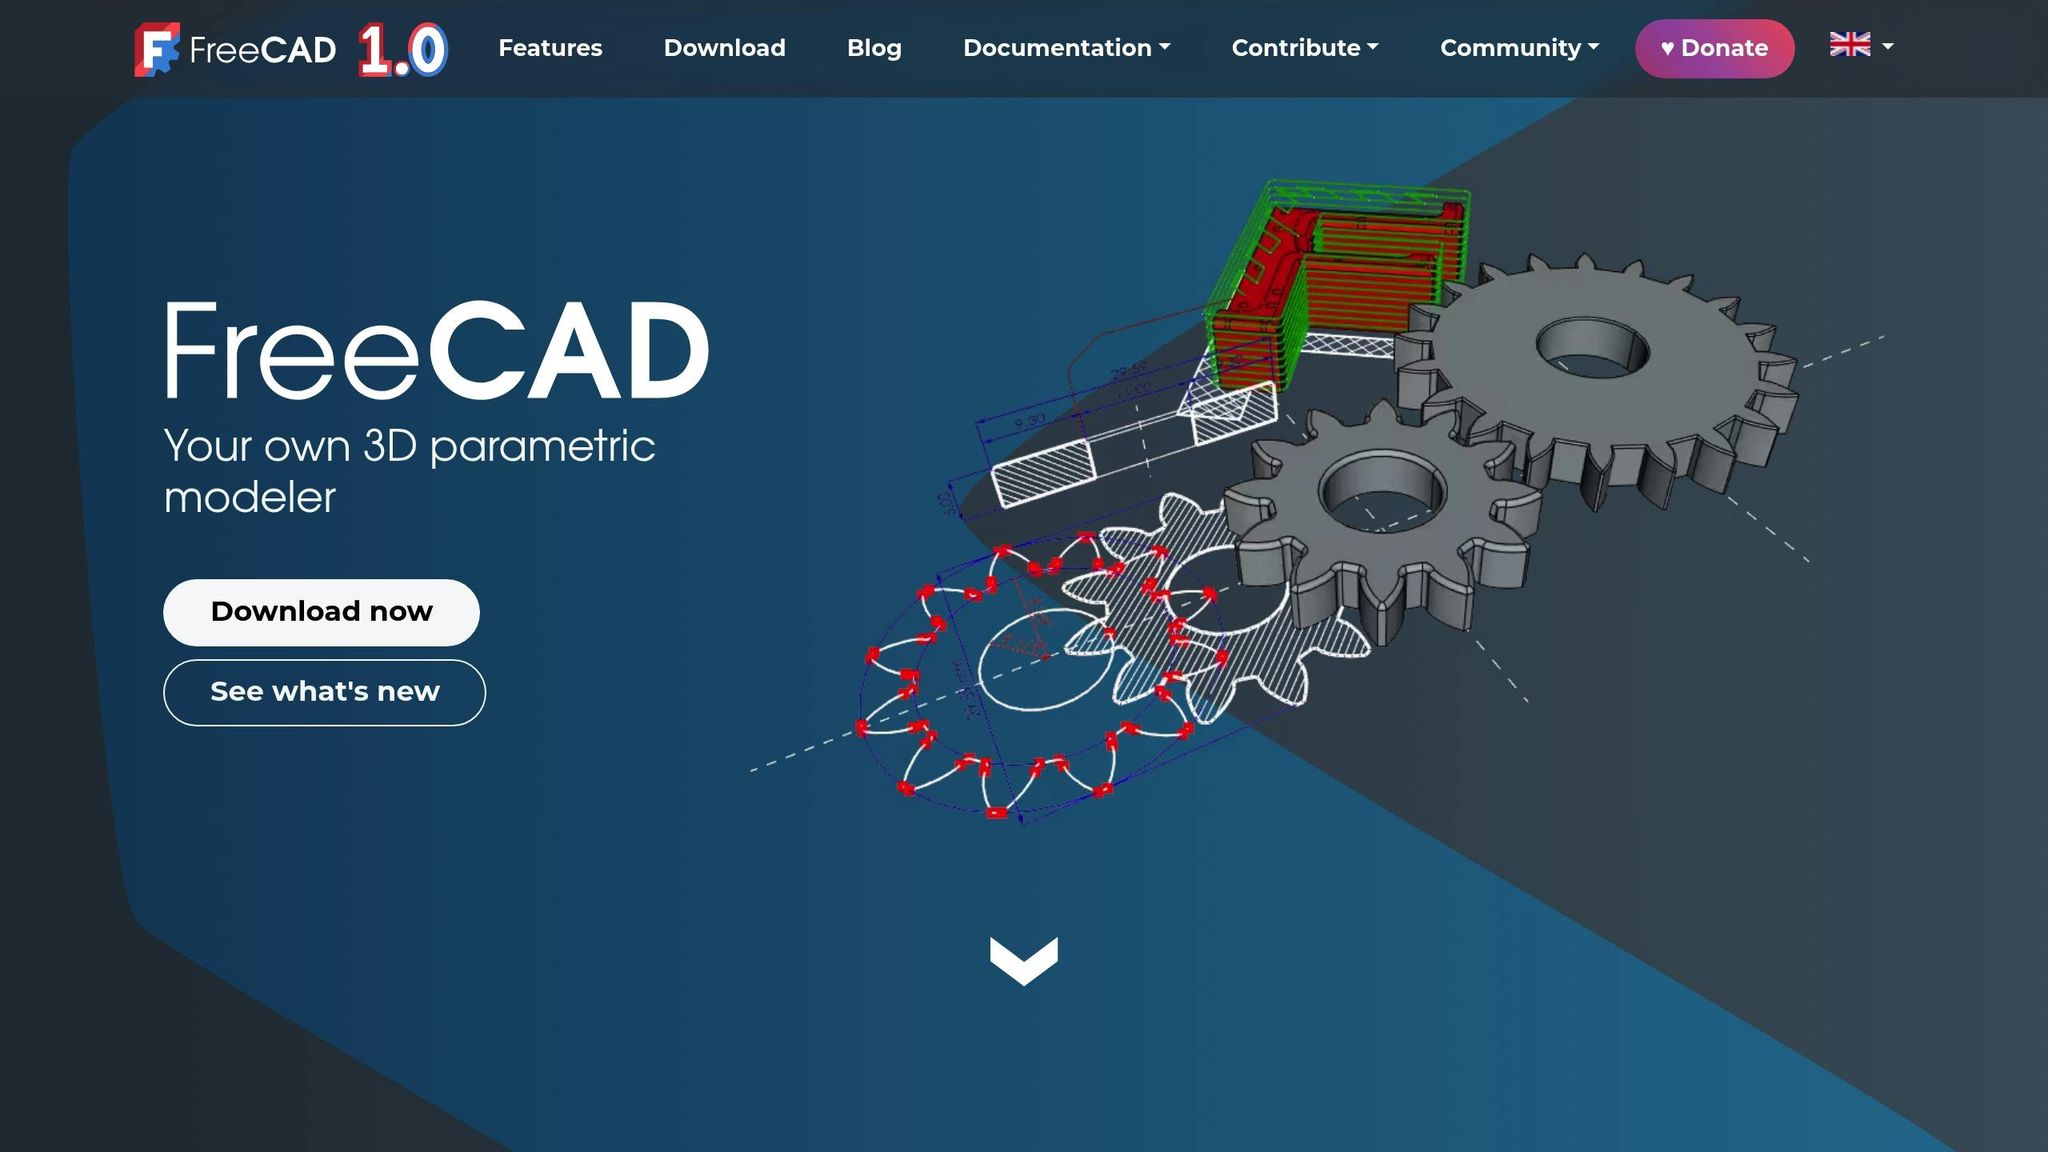
FreeCAD stands out as a versatile tool for those venturing into 3D design, offering a solid transition from basic modeling to more advanced, engineering-focused creations. As an open-source software, it specializes in precision 3D modeling through constraint-based, parametric design, making it a great choice for mechanical parts, architectural layouts, and functional objects.
Beginner-Friendliness
FreeCAD strikes a balance between simplicity and depth, with a learning curve that sits between Tinkercad and Blender. Its interface follows traditional CAD software conventions, which can feel intuitive if you’ve dabbled in engineering programs before. However, complete beginners will need to get acquainted with basic CAD principles.
The software organizes tools into specialized "workbenches." Beginners should start with the Part Design workbench, which focuses on creating solid objects through sketching and feature-based modeling. The process begins with drawing 2D sketches, which can then be transformed into 3D shapes using operations like extrude, revolve, and pocket.
What truly sets FreeCAD apart for beginners is its parametric design feature. This allows you to adjust dimensions or features at any time, with the entire model updating automatically. This flexibility turns mistakes into opportunities to learn, rather than forcing you to start from scratch.
Platform Compatibility
FreeCAD is compatible with Windows, macOS, and Linux, making it accessible across various systems. It doesn’t demand high-end hardware, though having at least 4GB of RAM and a dedicated graphics card will ensure smoother performance, especially when dealing with complex models.
The installation process is straightforward on all platforms, and its cross-platform nature means you can easily switch between devices - start a project on your Windows PC and continue it on your MacBook without any hiccups. This seamless compatibility makes it a reliable choice for users who work across multiple systems.
File Format Support
FreeCAD supports a wide range of file formats, including STL, OBJ, AMF, and 3MF for exporting, as well as professional formats like STEP, IGES, and DXF for importing. This ensures smooth workflows for 3D printing and collaboration with other design tools. The inclusion of 3MF format support is particularly useful for advanced printers, as it retains color and material information.
Additionally, the built-in Mesh workbench provides tools for analyzing and fixing 3D models before printing. It helps identify and resolve common issues like non-manifold edges, holes, or intersecting surfaces, reducing the risk of print failures.
Availability of Tutorials and Community Resources
FreeCAD has a thriving community that produces a wealth of educational content. The official FreeCAD wiki is a comprehensive starting point, offering detailed guides on everything from basic operations to advanced techniques. Step-by-step tutorials walk users through creating practical objects like brackets, gears, and housing components.
YouTube is another excellent resource, with channels dedicated to project-based learning. These tutorials often focus on real-world applications, showing how to design items like phone cases, replacement parts, or tool holders.
The FreeCAD forum is a welcoming space where beginners can ask questions, share projects, and receive guidance from experienced users. This collaborative environment makes learning less isolating and more interactive.
For those who prefer structured learning, several online courses are available that focus specifically on FreeCAD for 3D printing. These courses typically guide learners from basic sketching to more advanced assembly techniques, offering a clear learning path for those who want organized instruction.
Up next, we’ll dive into how other software options build on these foundational skills.
7. Meshmixer

Meshmixer takes a different angle when it comes to preparing for 3D printing. Instead of focusing on creating models from scratch, this free software from Autodesk specializes in mesh editing and repair. It's particularly handy for fixing broken models, merging multiple objects, and ensuring your files are ready for a smooth printing process.
Unlike traditional CAD programs that rely on solid geometry, Meshmixer works directly with mesh surfaces - the triangulated layers that form 3D printed objects. This makes it a go-to tool for tweaking downloaded models that might have structural issues or for modifying existing designs without starting from scratch.
Beginner-Friendliness
Meshmixer offers a sculpting-style interface that can feel both refreshing and challenging for beginners. While it has a moderate learning curve, its automated repair features are a major plus.
The Inspector tool, for example, automatically scans your model for issues like holes, non-manifold edges, or inverted normals - common culprits behind failed prints. With just one click, many of these problems can be resolved, even if you’re not familiar with the technical details.
For new users, starting with the basic selection and transformation tools is a smart move. Once comfortable, you can experiment with the sculpting brushes to smooth surfaces, add volume, or even create custom supports. These brushes allow for organic modifications but require some practice, as they function differently from the precise, measurement-driven tools found in CAD software.
One thing to keep in mind: Meshmixer uses a non-parametric approach, meaning changes can’t be easily undone. To avoid frustration, it’s wise to work with backup copies of your models.
Platform Compatibility
Meshmixer is available for both Windows and macOS, but there’s no official support for Linux users. The software doesn’t demand much in terms of hardware - 4GB of RAM and a dedicated graphics card are generally enough. However, if you’re working with highly detailed models containing millions of triangles, older machines might struggle with longer processing times.
Installation is straightforward, and the software performs consistently across different systems. Plus, if you’re already using other Autodesk tools, Meshmixer fits seamlessly into that ecosystem, allowing for easy file transfers without compatibility headaches.
File Format Support
When it comes to file formats, Meshmixer is versatile. It supports all the major 3D printing formats like STL, OBJ, PLY, AMF, and 3MF, along with some specialized ones like X3D and DAE. This makes it easy to import models from a variety of sources.
The software really shines with STL files, the standard format for 3D printing. It can handle large STL files that might overwhelm other programs and offers tools to reduce file size without sacrificing print quality.
Exporting is just as flexible. You can adjust settings for mesh resolution, file compression, and coordinate system orientation. Meshmixer even optimizes files for 3D printing automatically, ensuring proper scaling and orientation right out of the gate.
Availability of Tutorials and Community Resources
Meshmixer is backed by plenty of educational resources, thanks to Autodesk. Official tutorials guide users through everything from basic mesh repairs to more advanced sculpting techniques, with a focus on practical 3D printing applications.
The Meshmixer community forum is another valuable resource. It’s a space where users share troubleshooting tips, project ideas, and before-and-after examples of model repairs. These real-world examples can help beginners tackle similar challenges in their own projects.
YouTube is also packed with Meshmixer tutorials. Creators offer quick tips, detailed walkthroughs, and solutions to common 3D printing problems, like adding custom supports or hollowing models to save material. Some maker channels even showcase how to repair household items or customize downloaded designs.
For even more hands-on learning, Meshmixer’s integration with Thingiverse allows users to download models tailored for specific tutorials. You can follow along step-by-step, making it easier to build your skills.
Next, we’ll dive into software that complements Meshmixer by offering different approaches to 3D design.
8. SculptGL
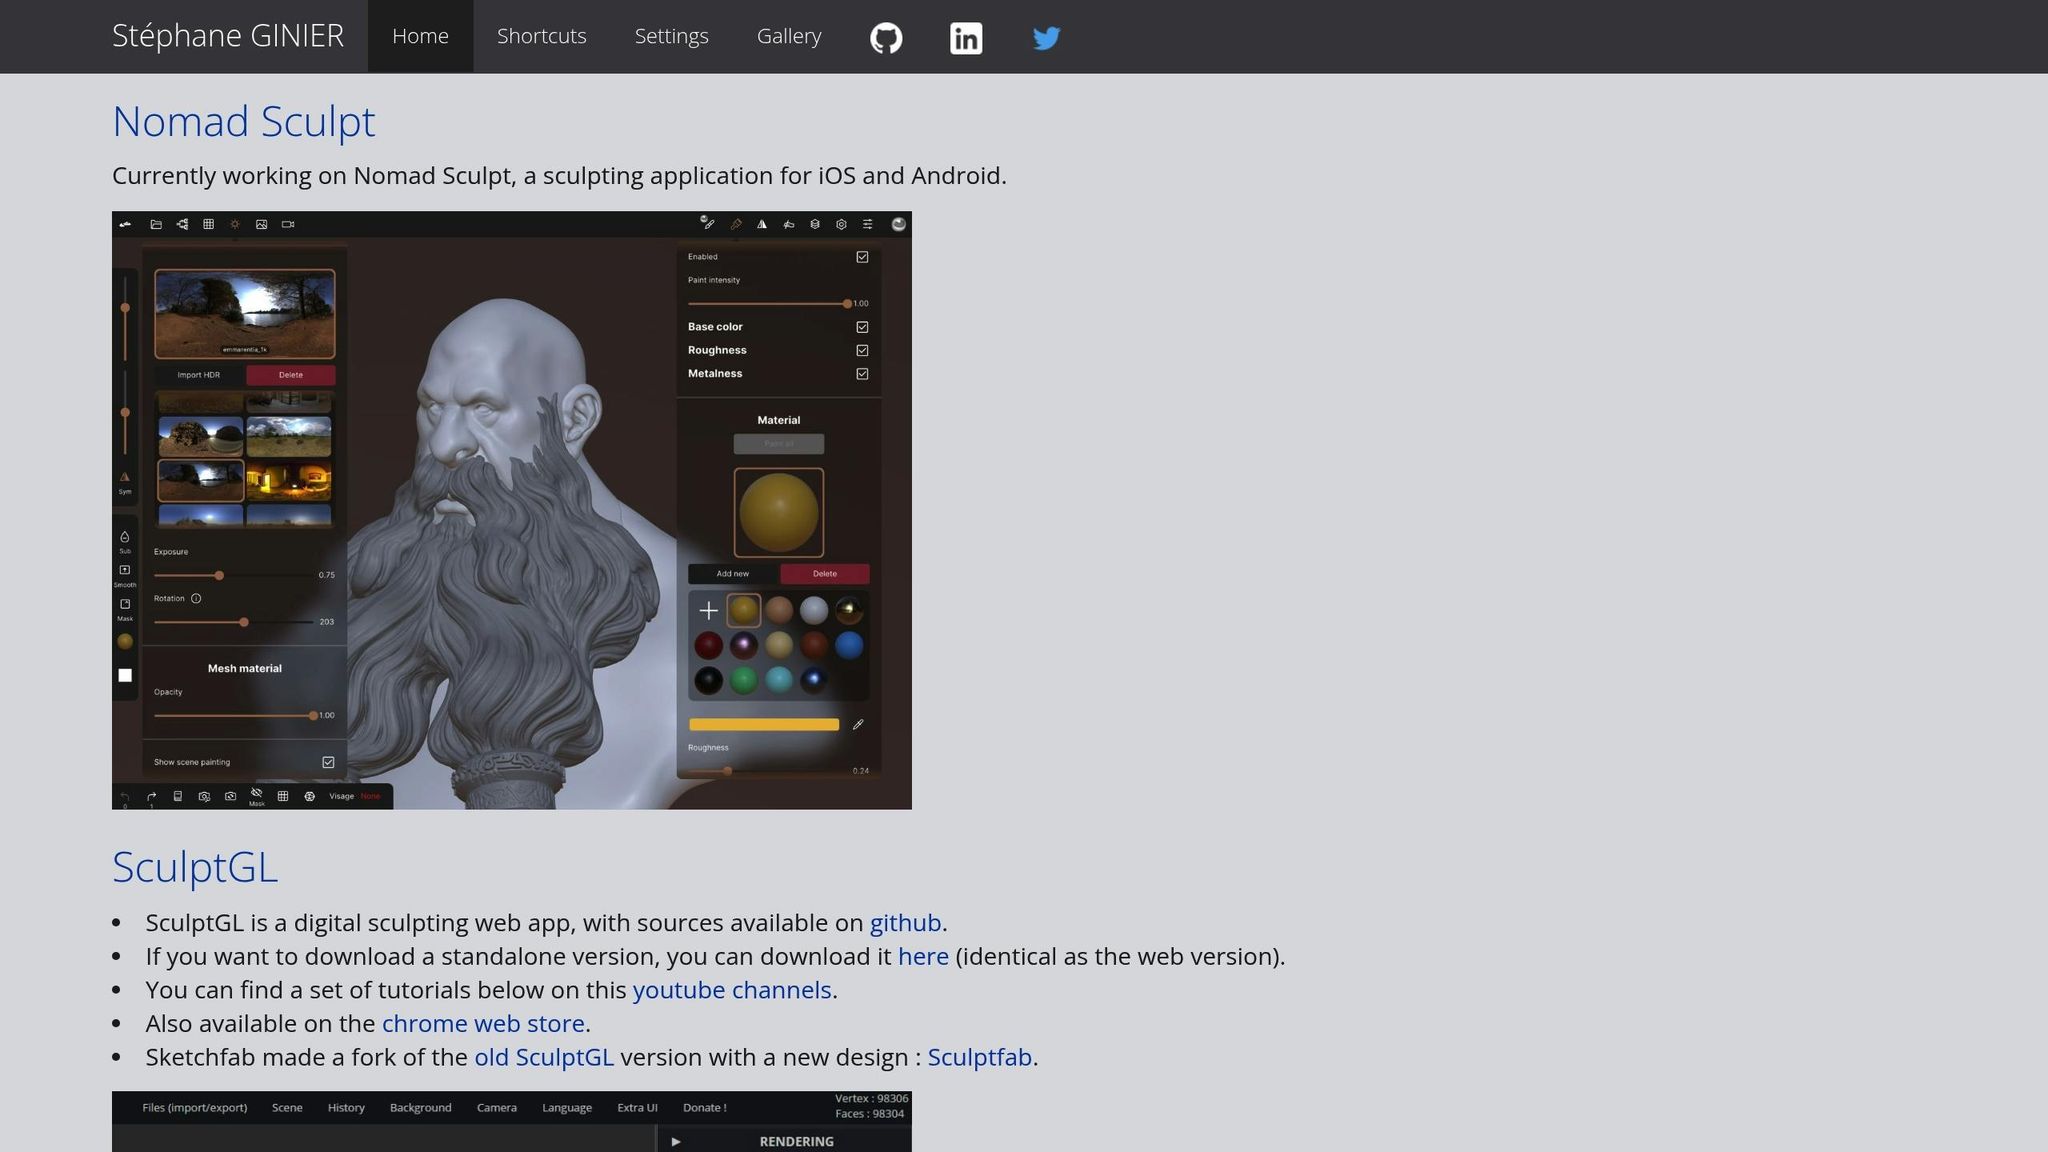
SculptGL is a free, browser-based tool that lets you sculpt digital clay using easy-to-understand brushes. It’s perfect for crafting organic shapes and artistic creations, especially those that might be tricky to achieve with standard modeling software.
What makes SculptGL stand out is how easy it is to access. There’s no need to download or install anything - just open your web browser, head to the SculptGL website, and you’re ready to start sculpting. This simplicity makes it an excellent choice for beginners who want to dive into 3D modeling without the hassle of setting up complex software.
The sculpting process is straightforward and user-friendly. You begin with basic shapes and use a variety of brushes to push, pull, or smooth your model. Plus, you can see your changes happen in real time, which adds to the interactive experience.
Platform Compatibility
SculptGL works seamlessly in any WebGL-enabled browser, so it’s compatible with Windows, macOS, and Linux systems. If you prefer an app-like experience, you can also use the standalone version through WebCatalog Desktop, which is available for both Mac and Windows.
File Format Support
When it comes to exporting your work, SculptGL supports STL, OBJ, and PLY file formats - popular choices for 3D printing workflows. STL, in particular, is widely used in 3D printing. Additionally, you can save your projects in SculptGL’s native .sgl format, allowing you to revisit and edit them later.
One thing to keep in mind: SculptGL is designed to create solid models. If your project requires more advanced features, such as hollowing out the model or adding escape holes for 3D printing, you’ll need to export your file and refine it in another program like Blender. The ability to export easily ensures you can take your designs to the next level with more advanced tools.
9. OpenSCAD
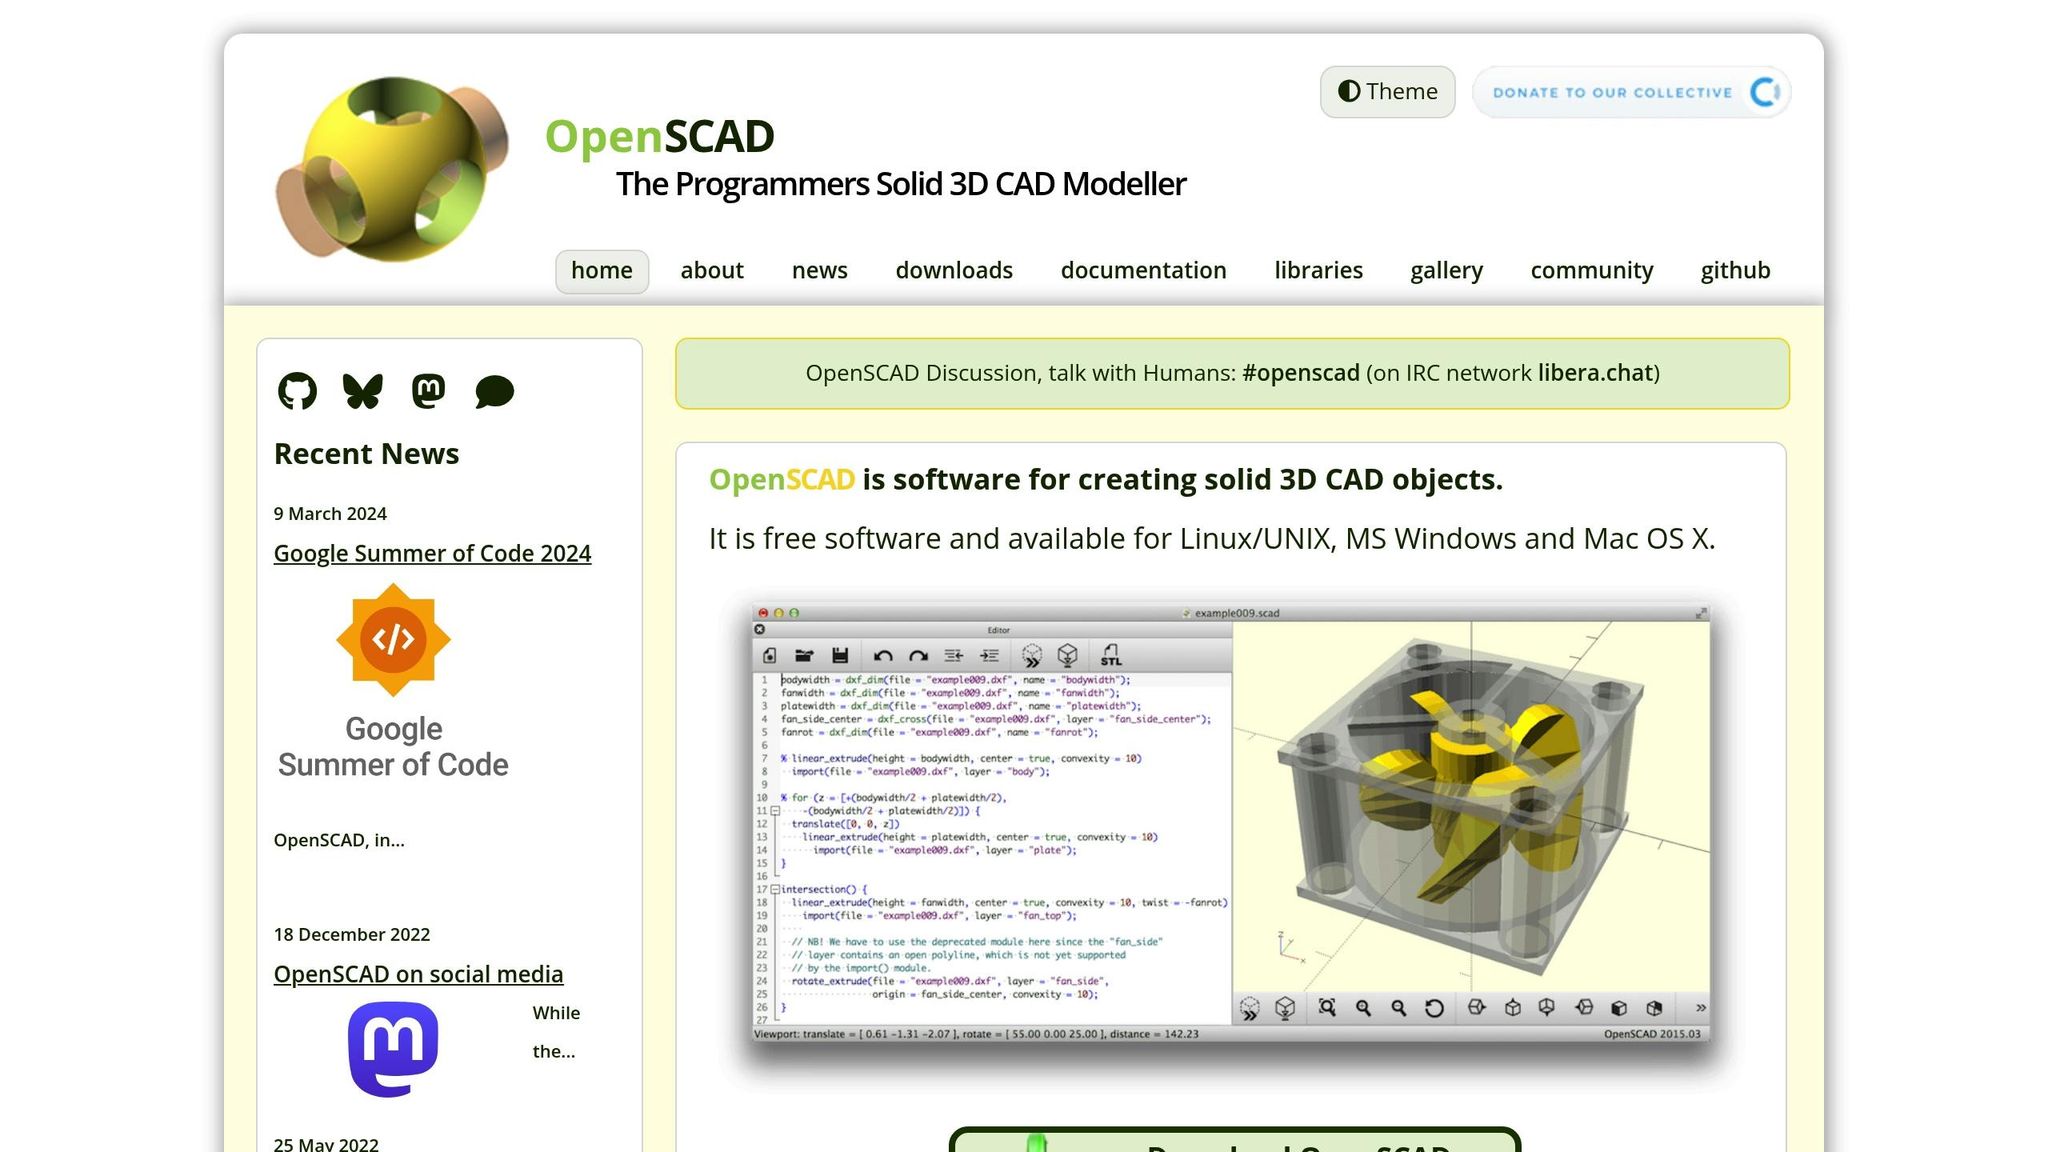
OpenSCAD takes a unique approach to 3D design by relying on code rather than traditional visual modeling tools. This parametric modeling method allows for precise designs and easy adjustments, making it a favorite among users who value accuracy and repeatability.
Think of OpenSCAD as the coding equivalent of a 3D design tool. You create objects by writing simple commands like:
cube([10, 10, 10])to generate a 10 mm cubecylinder(h = 20, r = 5)to produce a cylinder 20 mm tall with a 5 mm radius
The beauty of this system lies in its flexibility - tweaking parameters instantly updates the model. This makes OpenSCAD particularly useful for creating mechanical parts, brackets, enclosures, and other designs where precise dimensions are a must.
Beginner-Friendliness
OpenSCAD’s learning curve differs from traditional visual modeling software. If you’ve dabbled in programming before, you’ll likely find the transition easier. Its syntax is straightforward, using commands like "union", "difference", and "intersection" to combine or modify shapes.
For newcomers, OpenSCAD includes handy features like syntax highlighting and a real-time preview that updates the 3D model as you type. While it may take some time to grasp the basics, you can start designing functional models with just a few commands. Many users report creating their first designs within hours of practice.
Platform Compatibility
OpenSCAD is compatible with Windows, macOS, and Linux, making it accessible to a wide range of users. The installation process is simple across all platforms, and the software is lightweight enough to run smoothly even on older computers.
File Format Support
OpenSCAD supports a variety of file formats. It can import 3D files like STL, OFF, AMF, 3MF, and OBJ, as well as 2D formats such as DXF, SVG, PNG, and PDF. For exporting, it offers 3MF, AMF, OFF, and STL formats.
Tutorials and Community Resources
OpenSCAD has a vibrant community that has created a wealth of learning materials. Its official documentation is thorough and includes a built-in cheat sheet with command examples, making it easy to reference while working.
You’ll also find countless YouTube tutorials, ranging from beginner guides to advanced techniques, many tailored for designing 3D-printable objects. Community forums, Reddit groups, and platforms like Thingiverse and GitHub are brimming with shared designs and libraries. These resources not only help you learn faster but also provide inspiration and practical examples for your own projects. OpenSCAD’s code-driven approach is a perfect complement to the visual tools discussed earlier, offering unmatched precision for mechanical and geometric designs.
10. BlocksCAD
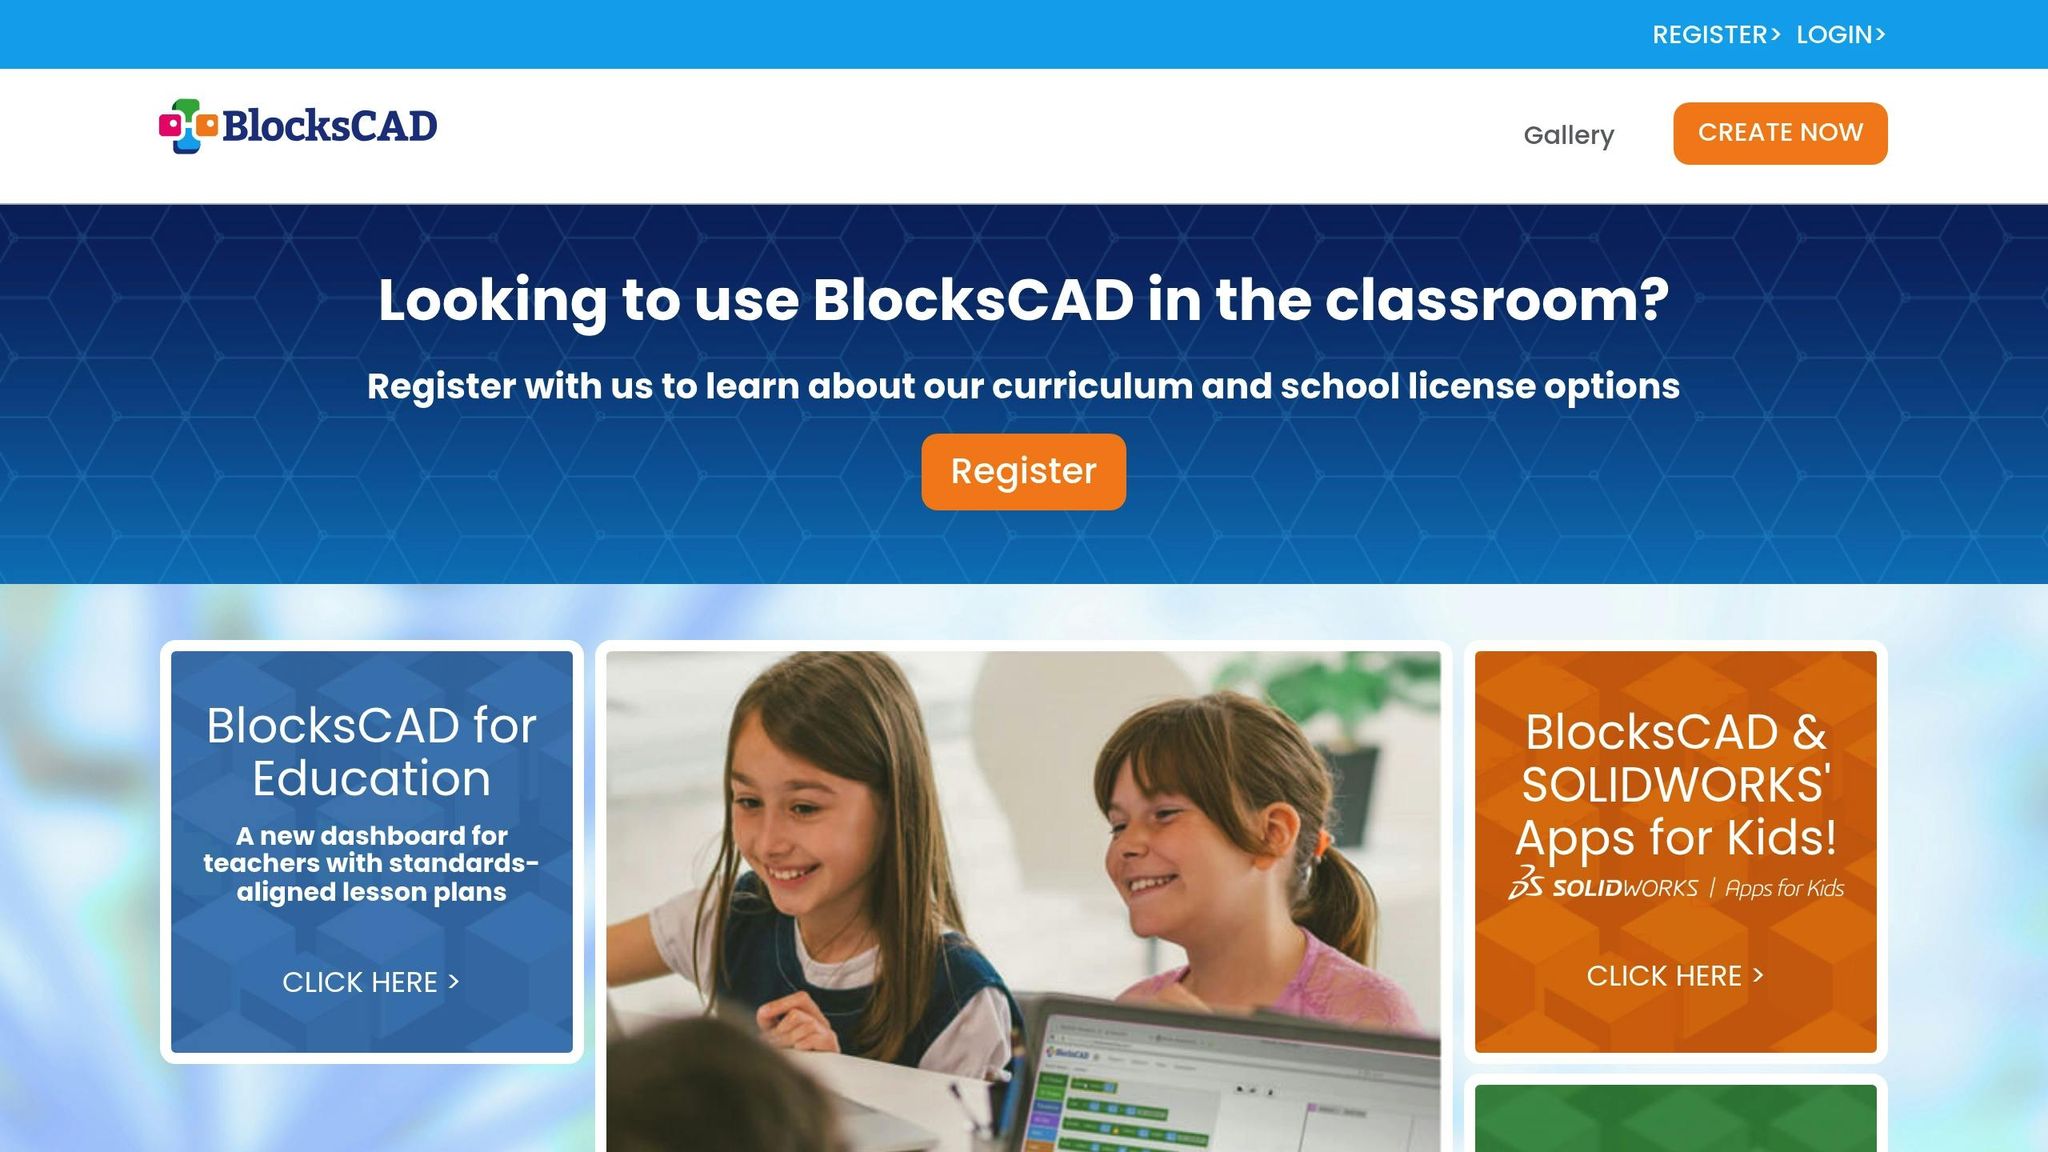
BlocksCAD takes a fun, block-based approach to parametric design, making it perfect for beginners. This web-based tool is inspired by OpenSCAD's principles but removes the intimidating coding syntax, offering a much easier entry point into parametric modeling. It's a favorite among educators for introducing students to both 3D design and basic programming concepts.
Beginner-Friendliness
BlocksCAD combines the precision of code-driven designs with the simplicity of a visual interface. Instead of typing out code, users drag and drop blocks to create 3D models. This makes it easy for beginners to dive in and start designing, all while learning the core ideas behind parametric modeling.
Platform Compatibility
You can run BlocksCAD on any modern web browser, whether you're using Windows, macOS, or Linux. It’s always up to date, as updates happen automatically. However, for some advanced features, you might need to run it on a web server.
File Format Support
BlocksCAD supports exporting models in STL and OpenSCAD formats, making it easy to use your designs in other 3D tools. Plus, you can save your projects as XML files, so editing them later is a breeze.
Software Comparison Table
Selecting the right software depends on your specific needs, including features and compatibility. Below is a table that provides a quick overview of various tools, covering their platform, cost, primary use case, strengths, and supported file formats.
| Software | Platform | Cost | Primary Use Case | Key Strengths | File Formats |
|---|---|---|---|---|---|
| Tinkercad | Web-based | Free | Basic modeling & education | Drag-and-drop simplicity, cloud storage | STL, OBJ, SVG |
| Ultimaker Cura | Windows, macOS, Linux | Free | Slicing & print preparation | Extensive printer support, advanced settings | STL, OBJ, 3MF, AMF |
| PrusaSlicer | Windows, macOS, Linux | Free | Slicing & print optimization | Superior print quality, detailed controls | STL, OBJ, AMF, 3MF |
| SketchUp Free | Web-based | Free | Architectural & product design | Intuitive push-pull modeling, large library | STL (via extension) |
| Blender | Windows, macOS, Linux | Free | Complex modeling & animation | Professional-grade tools, sculpting features | STL, OBJ, PLY, X3D |
| FreeCAD | Windows, macOS, Linux | Free | Parametric engineering design | Precision modeling, technical drawings | STL, STEP, IGES, OBJ |
| Meshmixer | Windows, macOS | Free | Mesh editing & repair | Automatic mesh repair, support generation | STL, OBJ, PLY, AMF |
| SculptGL | Web-based | Free | Digital sculpting | Artistic freedom, tablet-friendly interface | STL, OBJ, PLY |
| OpenSCAD | Windows, macOS, Linux | Free | Code-based parametric design | Precise mathematical modeling, version control | STL, OFF, AMF, 3MF |
| BlocksCAD | Web-based | Free | Educational parametric design | Visual programming blocks, easy learning curve | STL, OpenSCAD, XML |
These tools are all free to use but come packed with features that rival many paid options.
Web-based tools offer the convenience of universal access, making them ideal for users who prefer not to install software. On the other hand, desktop applications require installation but often provide more advanced capabilities and better performance.
Each tool is tailored to a specific role in the 3D printing process, from basic modeling and slicing to advanced animation and sculpting. Understanding these roles can help you identify the right tool for each stage of your project.
Most tools support STL files, the standard format for 3D printing, but many also handle additional formats like 3MF and AMF for more advanced needs. This table simplifies the decision-making process, helping you choose the best software as you dive deeper into 3D printing.
Tips for New 3D Printing Users
Starting with 3D printing can feel a bit overwhelming, but with the right approach, you can quickly gain confidence and improve your skills. Here are some practical tips to help you get started and make the most of your 3D printing journey.
Start with simple designs. Stick to basic geometric shapes or straightforward objects for your first projects. This approach helps you understand how your software converts digital designs into physical prints without the added frustration of handling overly complicated models.
Focus on one tool at a time. Instead of trying to learn everything at once, take the time to master a single tool or feature. Building a strong foundation with one tool will make it easier to pick up new ones later.
Join 3D printing communities. Connect with others who share your interest in 3D printing. Platforms like Facebook groups, specialized forums, or subreddits like r/3Dprinting are great places to find advice, share experiences, and troubleshoot. For printer-specific help, look for groups tailored to your particular model.
Keep a learning journal. Document your settings, successes, and failures. Having a record of what worked (and what didn’t) will save you time and frustration as you tackle more complex projects.
Try different file formats. While STL files are common, experimenting with formats like 3MF or AMF can unlock advanced features like color options, material settings, and metadata.
Troubleshoot methodically. If a print fails, analyze potential issues one at a time. Check factors like layer adhesion, support structures, print speed, or temperature settings. This step-by-step approach helps you identify and fix problems more effectively.
Explore structured learning options. Online courses are a fantastic way to learn the basics of 3D printing at your own pace. Many classes cover topics like design principles, software tools, materials, and printing techniques. For example, Upskillist offers interactive tutorials and practical exercises that pair well with free software tools.
Set realistic timelines. Even seemingly simple designs might require multiple adjustments and iterations. Give yourself extra time to experiment with new features and troubleshoot any challenges.
Stay organized and up to date. Keep your software current and organize your files with clear naming conventions and backups. This practice will save you headaches as your project library grows.
Test settings before big projects. Before diving into a large print, run a quick test - like a small cube that takes just 15 minutes. This simple step can help you catch issues early and avoid wasting time or materials.
Conclusion
3D printing software has never been easier to access. Whether you're drawn to Tinkercad for its intuitive drag-and-drop functionality or Blender for its advanced, professional-grade features, there's a tool out there to suit every skill level and approach to learning. The best part? Many of these programs are completely free, eliminating cost as a barrier and making 3D design accessible to almost anyone. With such a wide variety of options, you can pick the one that aligns with how you like to learn and create.
You don’t need expensive tools or years of experience to dive into 3D printing. Platforms like Tinkercad allow you to start designing and printing functional items within hours. As you grow more comfortable, you can transition to more advanced software at your own pace. The trick is to focus on mastering one tool at a time - commit to learning its ins and outs before moving on to the next.
Keep in mind, learning 3D printing software is an ongoing journey. As technology continues to evolve and your projects become more complex, staying up-to-date with new features and techniques is essential. Online courses can be a great way to speed up the learning process. For example, platforms like Upskillist offer detailed 3D printing courses led by industry professionals, helping you navigate challenges and refine your skills step by step.
Whether you’re designing practical household items, intricate prototypes, or artistic creations, these tools make it all possible. Pick a program, start experimenting, and watch as 3D printing transforms your ideas into tangible reality.
FAQs
What features make 3D printing software beginner-friendly?
Getting started with 3D printing? You'll want software that's designed with beginners in mind - something with an easy-to-navigate interface, simple tools, and helpful tutorials to walk you through the process. The best beginner-friendly programs make tasks like modeling and slicing straightforward, often including pre-configured settings for common 3D printers.
Two great options to consider are TinkerCAD and Cura. TinkerCAD offers a straightforward design platform with pre-made templates to help you create your first models effortlessly. Cura, on the other hand, simplifies slicing with its clear instructions and ready-to-use printer presets, making it a fantastic companion for your first printing projects. Both are excellent starting points to build your confidence in the 3D printing world.
How does Tinkercad compare to beginner-friendly tools like SketchUp Free and BlocksCAD?
Tinkercad stands out with its drag-and-drop interface, making it a fantastic choice for beginners eager to dive into 3D modeling without a steep learning curve. Its simplicity makes it perfect for hobbyists and those just starting with 3D design.
SketchUp Free steps things up a notch by offering more advanced design tools and flexibility. This makes it a better fit for users aiming to create detailed or intricate models. That said, its complexity might be a bit much for someone completely new to the process.
Then there’s BlocksCAD, which takes a LEGO-inspired approach to 3D design. It’s particularly suited for educational purposes, helping users grasp design concepts with ease. However, it’s not as well-suited for more complex or professional-level projects.
In short, Tinkercad is great for quick and simple designs, while SketchUp Free and BlocksCAD cater to users with specific goals, whether it’s detailed modeling or educational learning.
Why is it important for 3D printing software to support different file formats like STL, OBJ, and PLY?
Supporting file formats like STL, OBJ, and PLY is crucial because each format carries distinct information about a 3D model, such as its geometry, textures, or color details. This ensures that your 3D prints come out precise and align with the specific needs of your project.
Being able to work with multiple formats also makes it easier to switch between different 3D printers and software, streamlining the entire process. For beginners, this compatibility can help avoid common headaches when importing or exporting files, ultimately saving both time and effort.